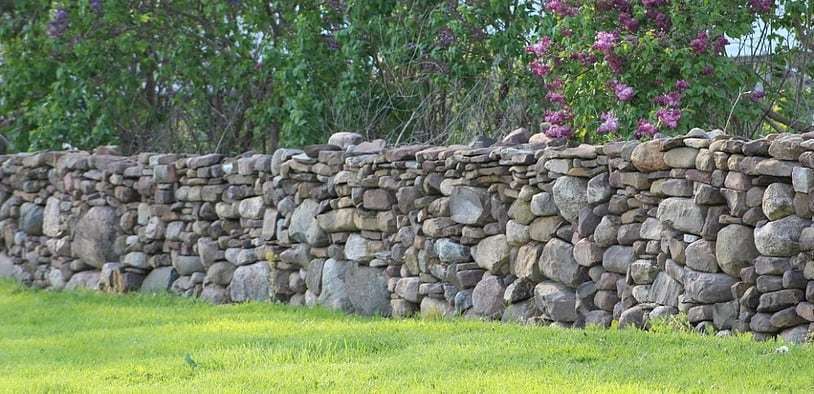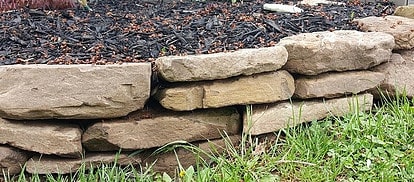
 Building a dry stack stone wall is not as difficult as it looks if you follow a few guidelines. You can create a beautiful dry stacked stone retaining wall that won’t look like someone just dumped a pile of rocks around your garden. You can also use these techniques when you are rocking in your pond. If you follow these guidelines you will have a sturdy wall that will last for years.
Foundation
As with many things in life, you must start with a strong solid foundation. The success of your project depends on this. To begin with, dig down below grade. Keeping it as flat as possible. If you are putting your stone wall on a hillside or ground with any sort of slant to it, then you want to start at the lowest point. Dig down an inch or so below the lowest point.
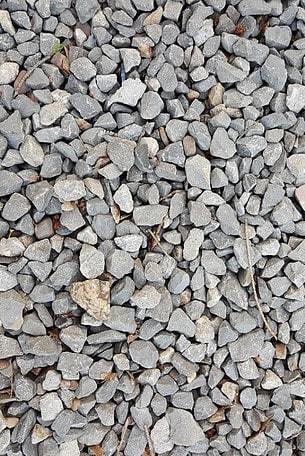
This next part all depends on what type of climate you live in. I am in the north east United States and we get our share of wintery weather. For me it is important to have proper drainage below your wall to prevent it from shifting during the freezing and thawing cycles. This can be easily accomplished by simply adding about an inch or so of gravel below your first course.
By placing gravel below your wall you allow the water to drain out from beneath reducing your chances of the wall shifting due to excess rain or snow.
Keep It Tight
Be sure to compact the dirt or gravel to reduce settling. Try not to disturb the ground deeper than you plan on digging when you dig to lay your first course. Keep your shovel flat will also reduce the amount of settling that occurs.
Start laying your first course. Try to keep the size of the rocks random. You don’t want to use all your large rocks in one course. When laying the first course, find the flattest edge of the rock you intend to use and keep that on the top. This creates a flat surface for the next rock to rest on.
The uneven portion of the rock can be placed in the ground. Move the gravel around and ensure that your first course is straight and the flattest parts of your rocks are fairly level. This is important because as you build your wall up all the uneven and unleveled parts will be magnified. Sort of like a ripple in a calm body of water.
If you are building on a hillside, keep stepping up the courses and dig out your foundation as you go. Lay your first course, then dig out where the next course will disappear into the hillside. Then lay your second course across the entire wall. Then dig in for your third course and so on.
Building up properly
 As your awesome new masterpiece starts to take shape, remember these things take time. Not just any rock will fit. This is what separates the “men from the boys”. I have built up most of a wall and stood back to look at it, and wasn’t “feeling” what I was looking at. At that point I undid a course or two and then rebuilt it.
Remember when you do this, especially if it is for yourself, you are the one that has to look at it so take your time and make it what you imagine it could be.
As you build up it is very important to break the vertical seam. What I mean by this is to make a letter “T”. As you build you may have one or two courses where the seams between the stones line up with one another. It is important to break that seam by laying another stone across the seam.
Never go further than three courses without breaking the seam. That’s the rule of thumb that I use and it has suited me well. This adds strength and stability to your wall. If you don’t break the seam, the wall will topple over.
Drainage and backfill
 Building your wall up, it is important to back fill behind it as you go. This will help tie everything together to give you a “rock solid” finished product. It is important to have proper drainage behind your wall to help alleviate the pressure from excess rain or melting snow.
To be sure your wall is backfilled properly, bring dirt up to about 4” – 6” from the back of the wall. Do this as you go. Bring the dirt up every one or two courses. As you bring the dirt up there will be a gap between the dirt and your wall. Fill the gap with gravel. This will allow water to escape without washing out your awesome wall.
If you have major drainage issues where your wall is being built, you can also place drain tile (4” perforated flexible drain pipe) behind the wall before backfilling it to help guide the water to where you want it to go. Just remember water will always go to the lowest point trying to seek its own level.
I have seen many mistakes where people thought that just because they put in drain tile the water would just magically flow against gravity. Just a side note, that’s all. If you do use drain tile or any other method just be sure that it is place and pitched in the direction you want it to flow.
Use a Dead Man to Hold It Together
As your wall begins to take shape there is another technique you may want to take advantage of. This also depends on how high you intend to build your wall. If it is nothing more than 2 or 3 courses high then don’t bother with this, however if it is of significant height this will be paramount to your success.
Instead of just having all your rocks follow the wall in a line, use longer rocks and lay them so the face is flush with the outside of the wall, but the rest of the large rock goes back into the dirt behind it. This technique ties the wall in to the dirt it is retaining. These dead men act as anchors keeping your wall secure and tying the whole thing together.
Keep At It
 Building a stone wall isn’t for everyone. If you are like me and loved playing with Legos as a kid, then I think you should give it a shot. It’s like having a never ending Lego set. Yes, all the pieces may not fit perfectly together but when you find that perfect fit and your progress is rolling along, there is no better feeling.
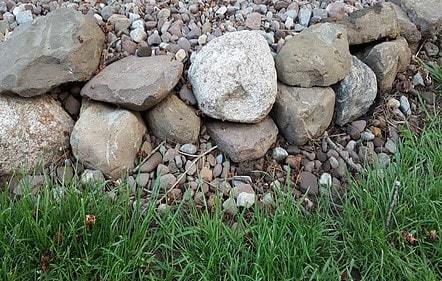
One last word of advise, be sure you have enough rocks before you start. When you think you have enough, get more. You can never have enough, and when you are looking for that perfect fit it’s better to have many to choose from. The last picture in this post was a poor attempt at a wall, I used all the rocks, and the ones you see are all I had left.
Just like people have writers block, the same type of thing can happen with a project like this. The best remedy is to walk away for a bit and then come back to it. Rome wasn’t built in a day, but they sure have some beautiful stone work that has stood the test of time.
Conclusion
A dry stacked stone wall has a certain romantic charm to it. It brings something magical to the landscape. I would love to hear your experiences with this type of project. Did you set out to build it and give up? Did you seek out help? What kinds of stones do you use for your projects? Please leave any comments or questions below. I would love to hear from you, and will respond ASAP. Thanks for reading and keep building!


