How To Build A Rock Fountain
DIY Projects
2 comments
DIY Projects
2 comments
Have you always wanted a water feature in your outdoor space? After researching, realize that putting in a pond is too much work? In this video I'm going to show you an alternative that will satisfy your water feature craving.
This is an easy to build alternative that will satisfy your water garden bug. If you can use a shovel, you can create this water feature. Let’s take a look at what we will need for this project.
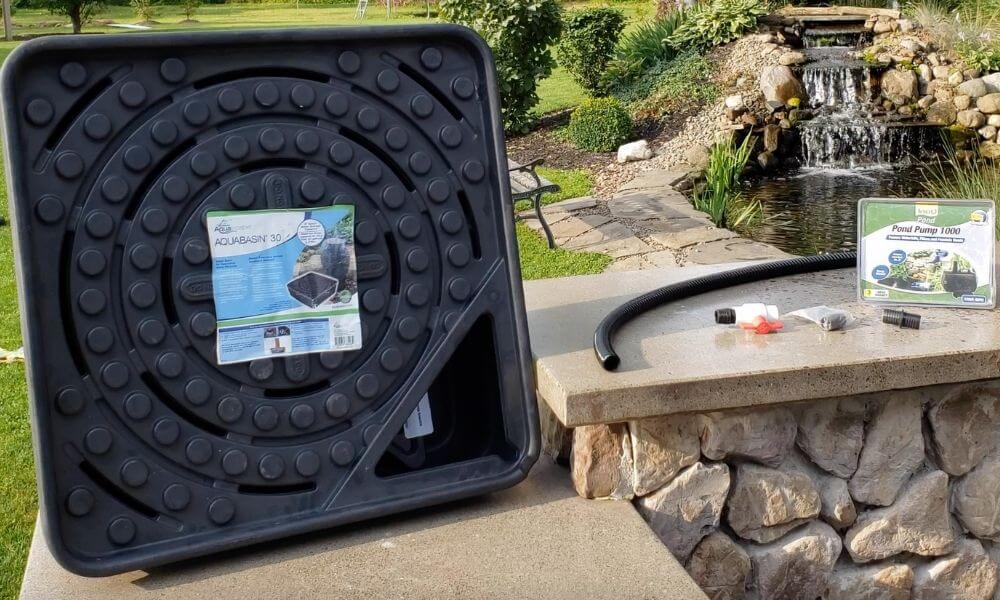
Once you have made up your mind to tackle this afternoon project it’s time to select the stone for your fountain. This is truly the hardest part of the whole project. Decisions, decisions, decisions.
***Note: If you are looking at rocks in a big open space, they will appear smaller than they will when you get them home.
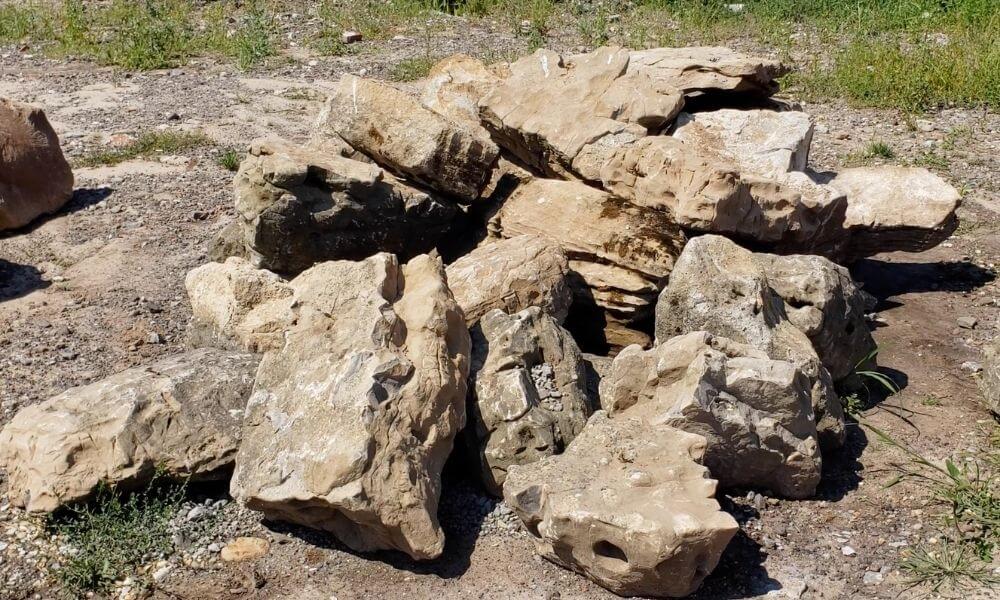
If you are doing this project alone, you will need to select a rock that you can manage on your own or with help from your friends. If you have access to any type of machinery that can assist you, then go nuts. There is no limit to the size of stone you use. For the sake of this article we chose a smaller “boulder” weighing around 150 - 200 Lbs.
First things first as with all of the projects here is to plan out what we are about to do. Location is important. You need to have access to power for the fountain pump, and also be able to see and hear this masterpiece when you’re done. The best suggestion I have is to place it close to where you spend most of your time outdoors to maximize the enjoyment of your hard work.
To lay this project out is very straightforward. Place the basin where you want it. Using a can of spray paint, trace the shape of the basin.
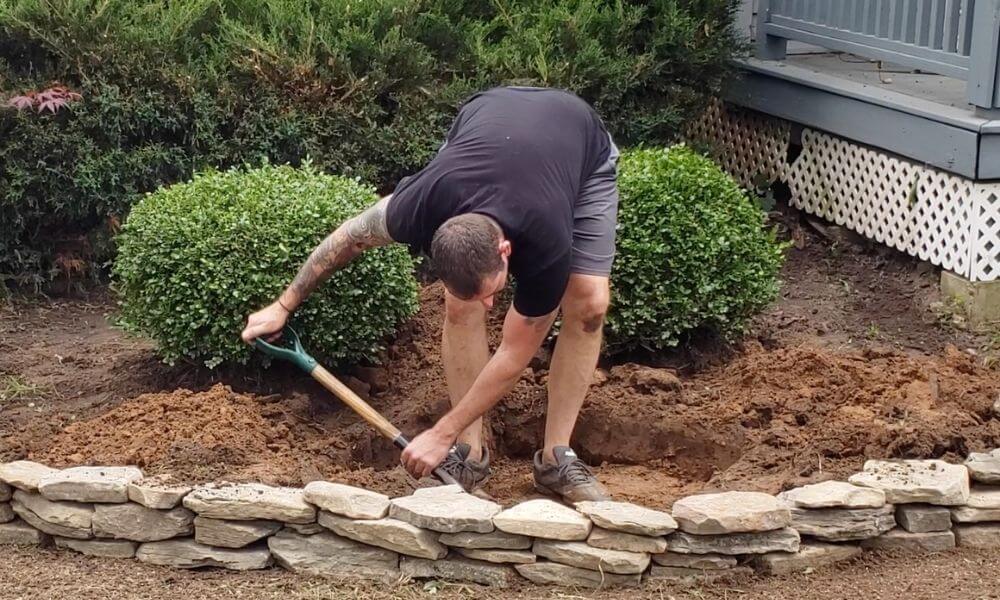
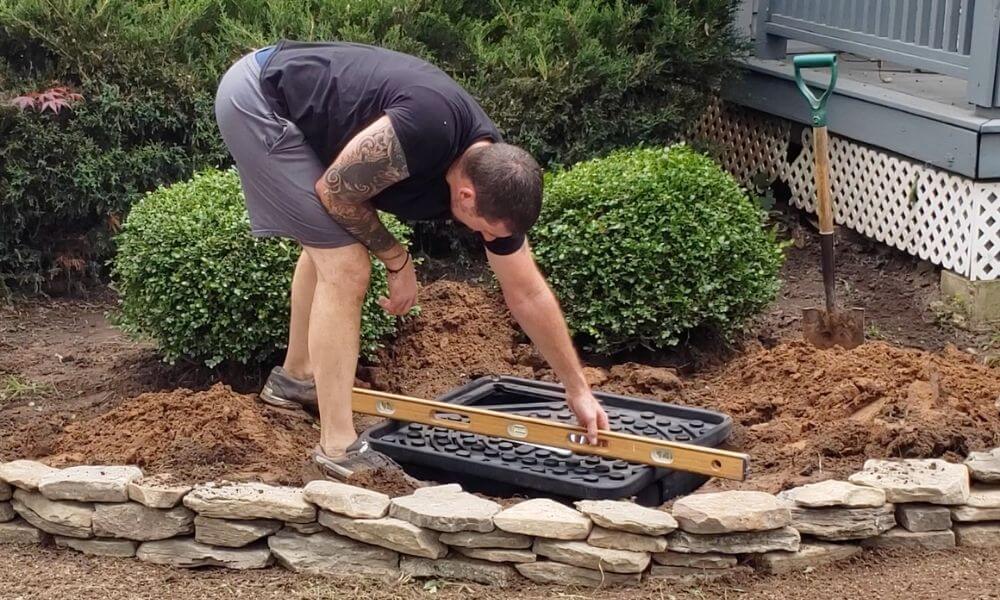
Remove the basin and dig down to the proper depth. Make sure the bottom is flat. Try not to go deeper than the basin. The more you disturb the ground beneath it, the more settling will occur.
It’s a good idea to compact the ground before you place your basin. Use a hand tamper to make it sound and level. Once you’ve done that, place the basin into the hole.
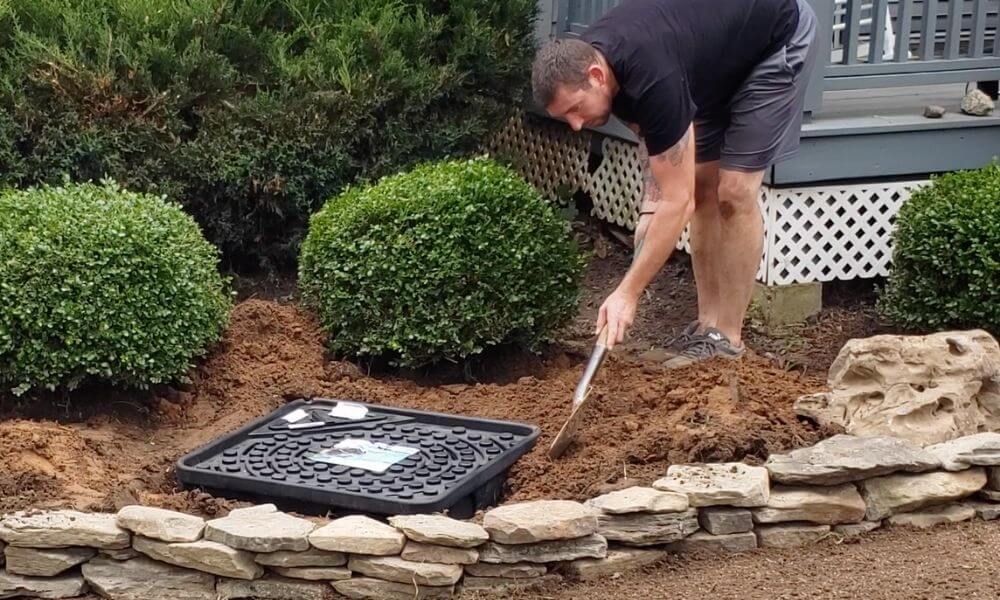
Using a level, check it across both ways. If you don’t place it in the ground level, you will not be able to fill it to the maximum because water will overflow on the lower end.
If you opted for a pre-drilled rock, skip ahead to the next section. If you are doing this full DIY style, then find the place you want the water to come out of the rock.
In our case we drilled as close to the center we could. The rock we chose had lots of crevices in it. We made sure the hole we drilled didn’t hit any of these. If that happened water would flow from those places, and not out the top. Water always finds the path of least resistance.
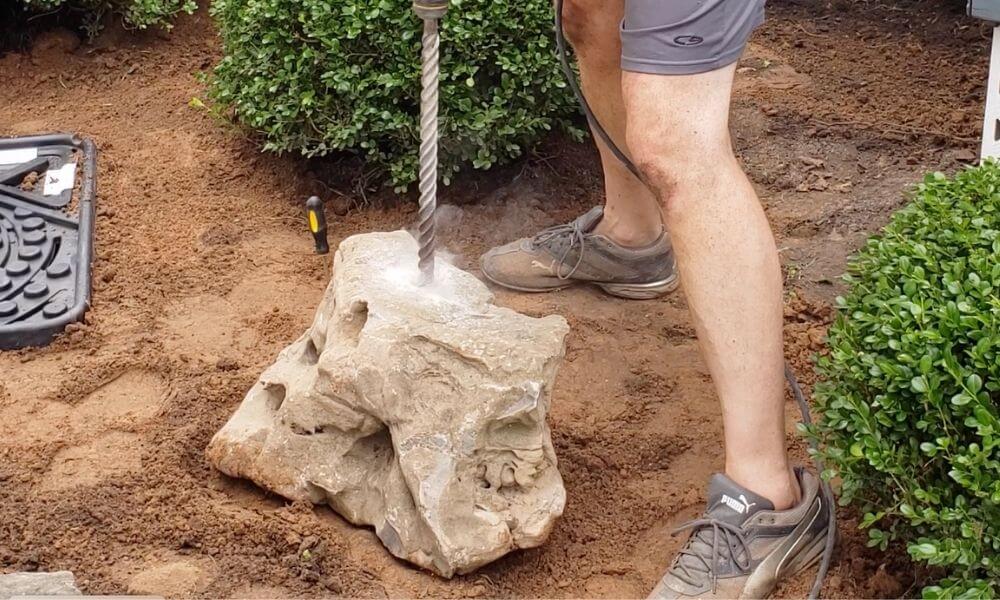
Once you decide where to drill it, begin. Keep downward pressure on the hammer drill and let it do the work. This could take a bit depending on the type and thickness of stone you chose.
Most of the time when you break through the bottom of the stone it will “blow out”. That's ok because it’s on the bottom of the rock where no one will see it.
Now that you have drilled the rock you need to have a way for water to flow through it. Use a 1” barbed fitting and pound it in with a hammer. The barbs on the fitting will keep it in place.
Now use a 1” hose and shove it on the other end of the barbed connector. No need for any clamps. It is a very tight fit and the barbs hold the hose in place. Be sure to push it all the way on.
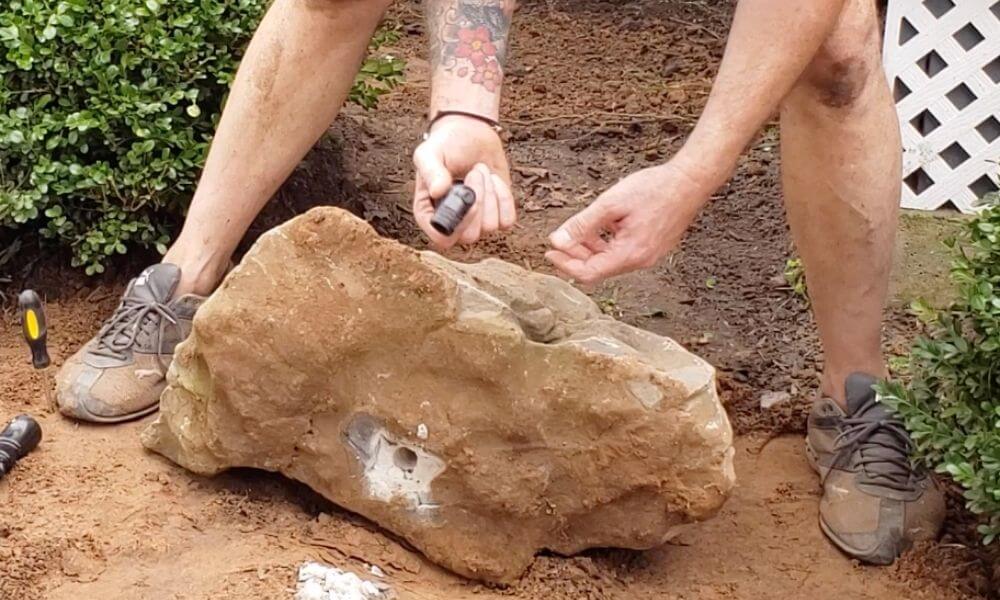
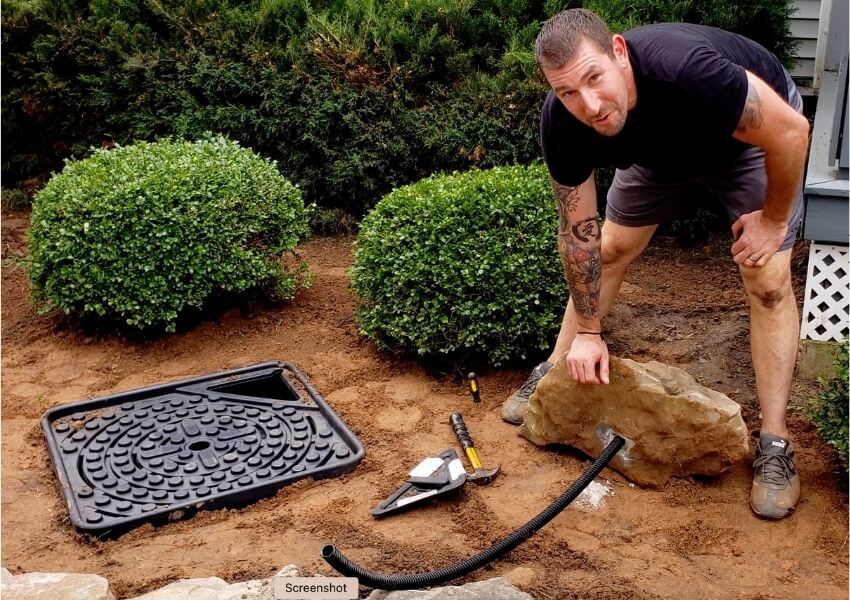
Take the other end of the 1” hose and feed it through the hole located in the middle of the basin. Carefully manipulate the stone to the center of the basin. Take care to watch your fingers. Large rocks show no mercy when dropped.
The 30” basin is rated to hold up to 500 Lbs. make sure your stone is placed in the center, with the hose going straight down through the basin. The basin itself is a bit slick and the large rock may tend to slip and slide while you are putting exactly how you want it.
Reach in and pull the hose to the opening in the basin. Use your 1” barbed fitting and push it onto the hose. Be sure to push it all the way on.
Now thread your valve onto the barbed fitting. You will need another fitting to attach the valve to the pump. After all your connections are made, place the pump into the basin. It doesn’t matter how the pump is oriented as long as it rests on the bottom.
Now fill up the basin with water. Do not turn on your pump until the basin is full. If you run your pump without water, you run the risk of burning it out.
Showtime!
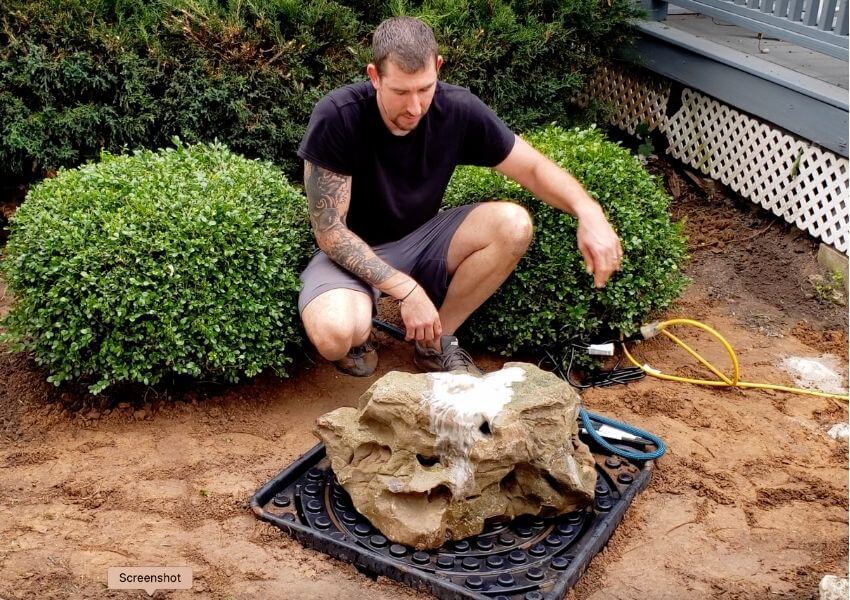
With the basin filled, plug in your pump. You may want to have the valve you put in turned down so water doesn’t go everywhere. Slowly open the valve until it is flowing at your desired rate.
Now is the time to make sure water is flowing all around the rock, and whether you want to tip it forward or backward to get a different result. While it is running take note that water is not splashing out of the basin.
This is why we placed a valve on the pump. If you see water splashing beyond the basin then the water needs to be turned down. Even a little splash out will affect how your water feature runs. Any loss of water will eventually run your water feature dry and risk burning out your pump.
Now that everything is running smoothly, finish off the surroundings with the stone of your choice. If it seems like your rock is too low, place stone underneath it so it sits the way you want it to.
Cover the basin with stone and make it extend into the surrounding garden. This gives the effect of the water disappearing into the ground.
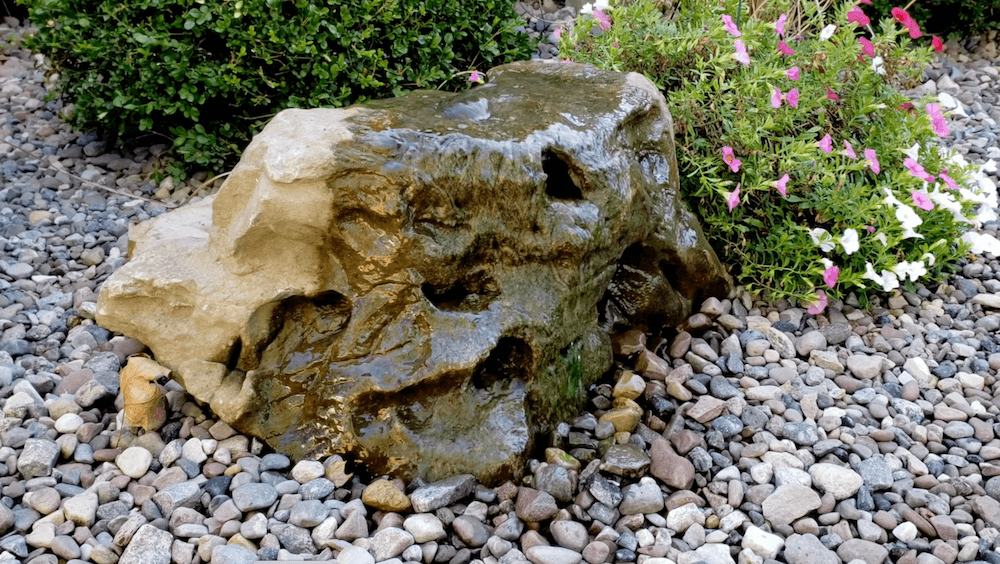
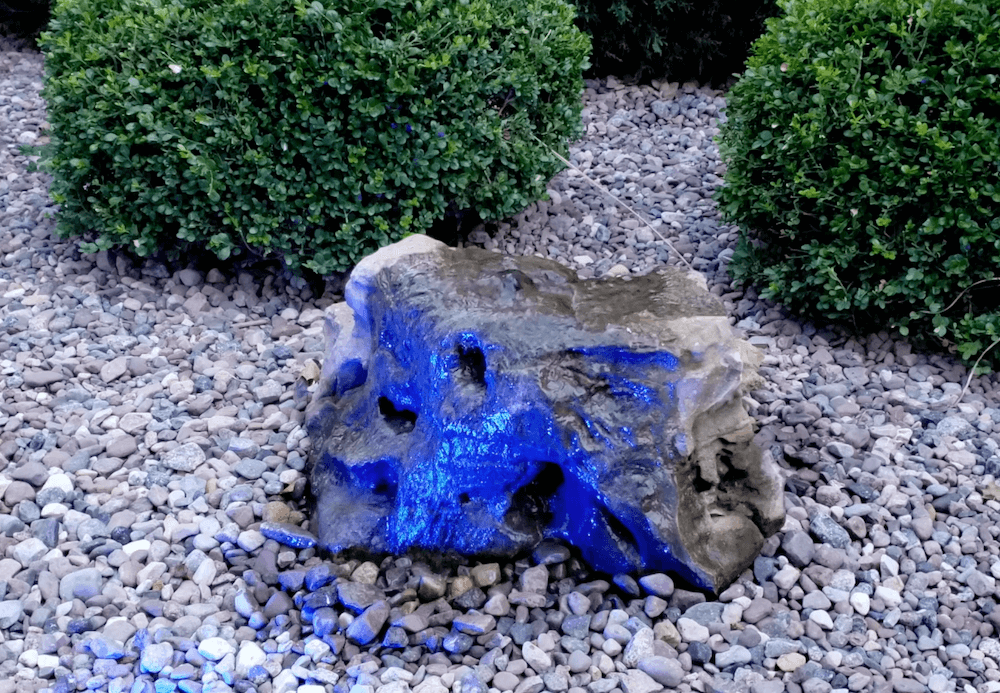
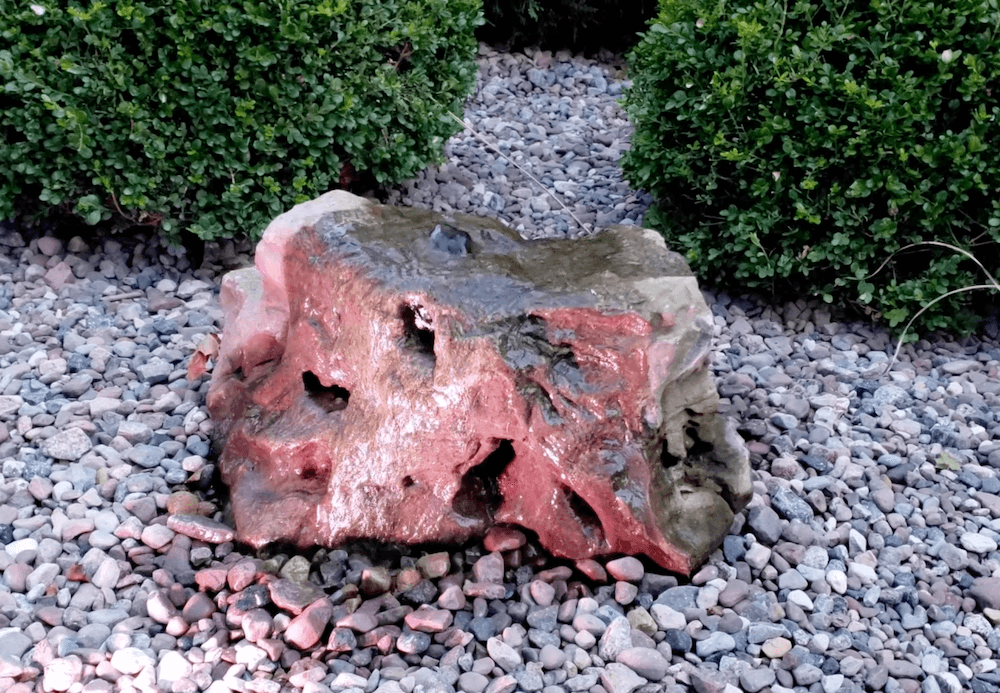
At this point you can add lights to highlight your new water feature. The pondmax lighting system is the perfect match for this project. Choose your color and wow anyone who passes by.
Now that you have this new amazing water feature, show it off at night. Add some color changing lights to set the mood. It's amazing what a difference the lighting can make.
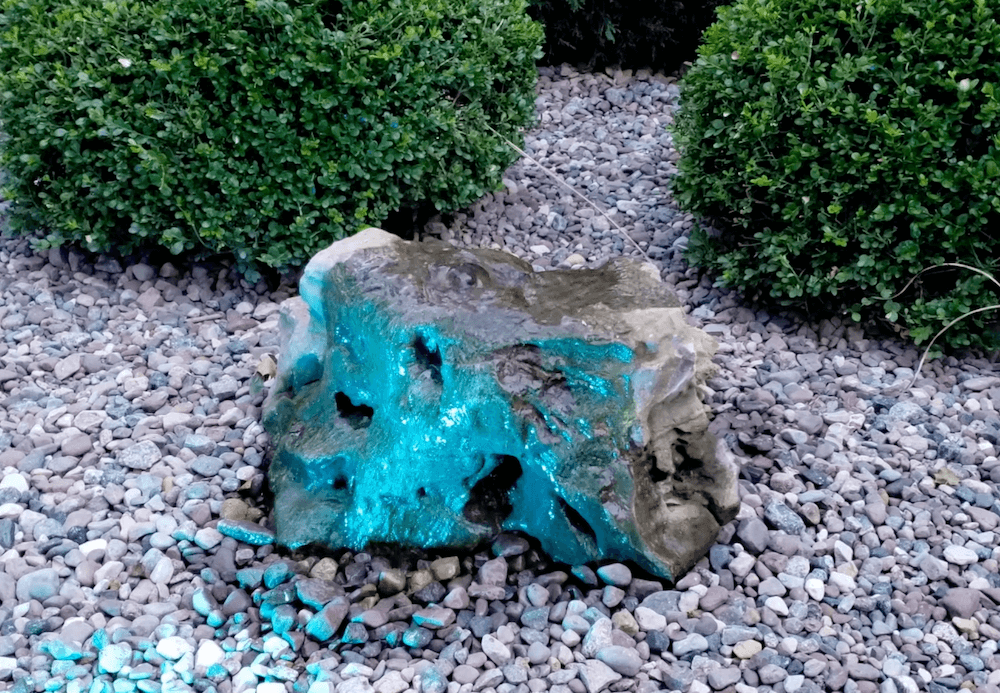
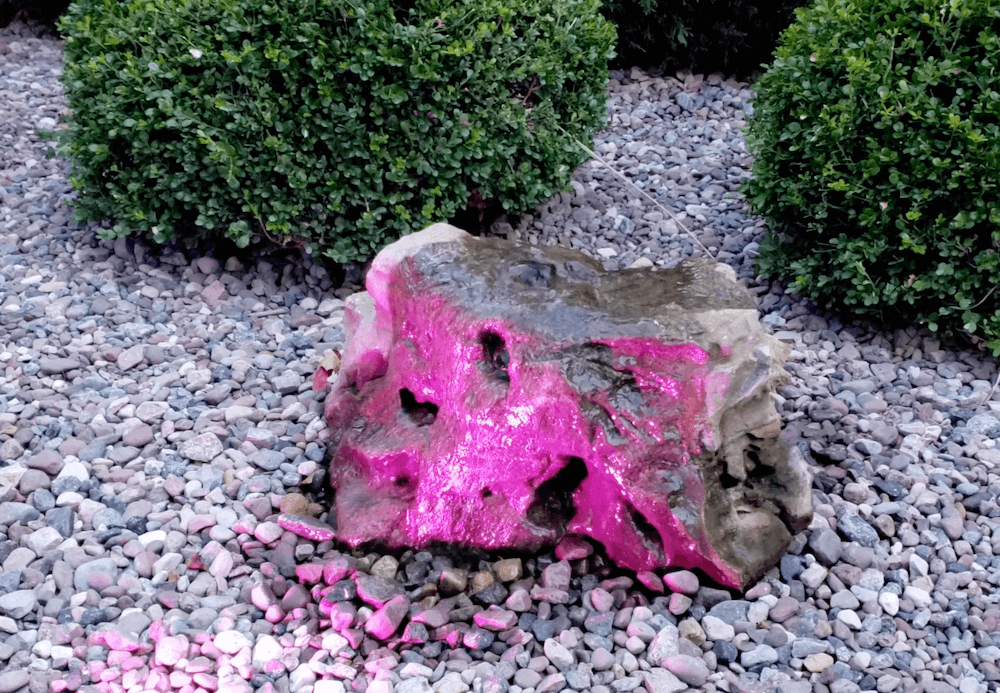
There is not much maintenance that goes into one of these water features. The main thing is to not let it run out of water.
If you do start to get any green algae that you want to get rid of, pour a cup of bleach into the water. Since your feature is contained, this won’t harm surrounding plants.
One thing that may happen over time is unsightly algae forming. This can easily be controlled with fountain algae remover.
This is an easy project that makes a big impact on your outdoor space. There is nothing like flowing water to bring your garden to life. With minimal tools, and about an hour's worth of work, you can transform your space into something spectacular!
No fuss or maintenance. Just plug it in and enjoy, it really is that simple!
After reading this and seeing just how easy it is, do you plan on adding a rock fountain to your space? What are you waiting for? Add one to your garden today, you can thank me later. Until next time, enjoy your Backyard water garden!
~Jeff
Tags

Can you elaborate on what kind and size of drill bit you used? How long was the bit? Did you Ave to keep the area and bit wet to keep it from heating up too much? Thanks so much!
I used a hammer drill with a 1″ inch bit, made for drilling concrete and stone. I did not use water or any other kind of coolant while drilling. As long as you bring the drill up from time to time, it should not get too hot. It was easier than you may think. I wish you luck if you set out to do something similar to this. The end result is super satifying!
~Cheers