These top 6 cheap garden path ideas will certainly set your outdoor space off right. Keep in mind that not all the listed garden paths listed will work for every environment. Obviously the garden that you enjoy in Southern California or Arizona will be much different from the one in New York. Keep this in mind as you decide on the materials you choose to create your garden path.
Garden Paths – Don’t Need to Be Paved with Gold
 If you’re like me and can’t wait for the last bit of snow to melt so you can get back outside, then, you’ll agree that it’s a big pain to deal with the rainy wet seasons of spring and fall. There is nothing worse than walking out to your favorite spot in the garden, but the only way to get there is to trek through the mud, or turn your once beautiful yard into a muddy path.
The path is also an important part of your garden. It helps to guide the garden visitors through a selected journey so certain things can be highlighted, and brought into view. Certain specimen plants that may have been passed by are brought to attention, to be fully appreciated.
The time it will take to create these paths depends on the materials used and the size of you path. Listed below are some great ideas to help get your wheels spinning. They start out simple and inexpensive, and get a little more complex as you go down the list.
My Top 6 Garden Path Ideas.
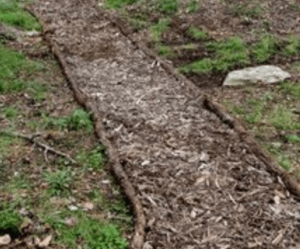 #1 Mulch Path
This can be done easily by getting some landscape fabric and laying it down where you want your path to be. For a border you can either use landscape timbers, or even some long thin logs to line either side of your path. Once you have the border set in place, cover the landscape fabric with mulch. This provides a soft foot path to your garden, without having to scrape the mud from your shoes when you get to your destination.
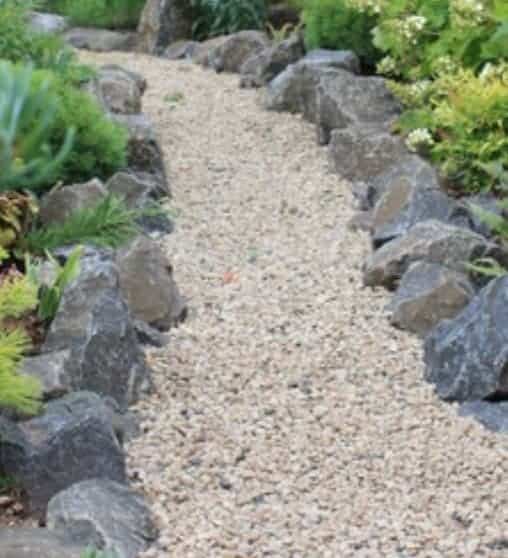
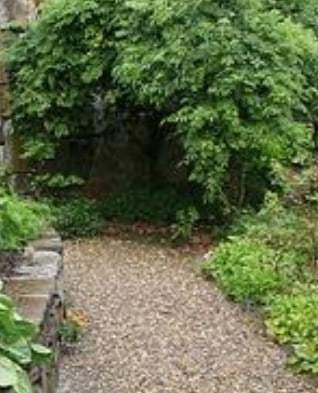 #2 Gravel Walkway
A gravel path can be an effective way to get from here to there. If you are going to make a gravel path, be sure to put landscape fabric down before you place your gravel down. This will help it from “absorbing” into the ground. This is a great path idea, especially for a long and winding path through the woods.
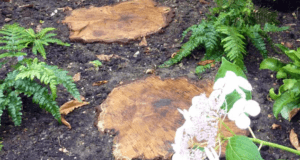 #3 Tree trunk path
If you have any fallen trees, or plan on trimming any large tree branches you can cut the logs into disks, about 2 inches thick. These make great paths that won’t hurt your feet if you walk on them barefoot. If you are worried about them rotting in the ground, you can always treat them with either deck stain, or water sealer. This is a very cost effective way to create the natural path to your destination. This type of path can either be dug into the ground to keep the surrounding grass intact, or simply surrounded by mulch.
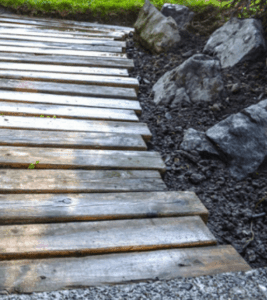 #4 Board Walk
This is a simple utilitarian path, that also looks natural. Simply place 2 x 6’s on the ground cut to the width you want your path to be. This will elevate you above the mud or water that exists during the wet season. This path will last for 5 to 10 years before it will need to be replaced. Using pressure treated wood will help with its longevity. These boards Should be dug into the ground to keep them from wobbling.
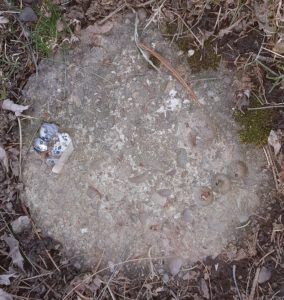 #5 Concrete Stepping Stones
This is for the do it yourselfer with more of a creative flair. Concrete is great because you can make it into any shape you please. We did this when my kids were little years ago. Each child had their own stone they created for the garden. Be sure you and your “helpers” are wearing rubber gloves for this project. The Portland cement in the concrete mix will damage the skin on your hands. This is a great family project that everyone can take part in.
1. Line a 5-gallon bucket with a garbage bag. This enables you to reuse the bucket when you are done.
2. Mix up enough concrete mix to fill the bucket 2” – 3” with concrete.
3. Let the concrete set up for 20 minutes or so, then begin adding things to the top. Use polished glass, seashells, even bottle caps, anything you can think of to customize your stone. The kids love this, and I have to admit, so did I. At this point even a hand print would work great.
4. Let the stepping stone cure for a day or so, then pull the plastic bag out of the bucket, and viola, instant unique stepping stone. You can get 3 or 4 out of one bag of concrete depending on how thick you make them.
#6 Flagstone
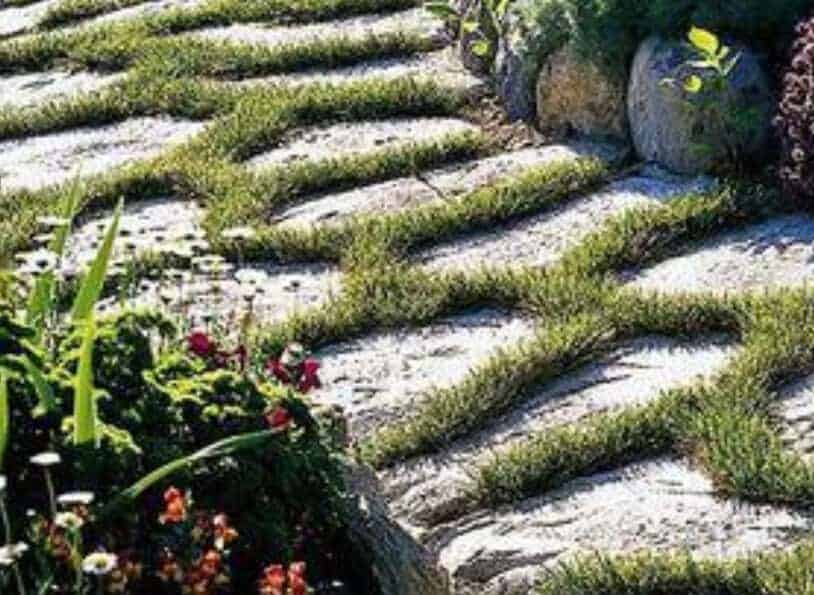
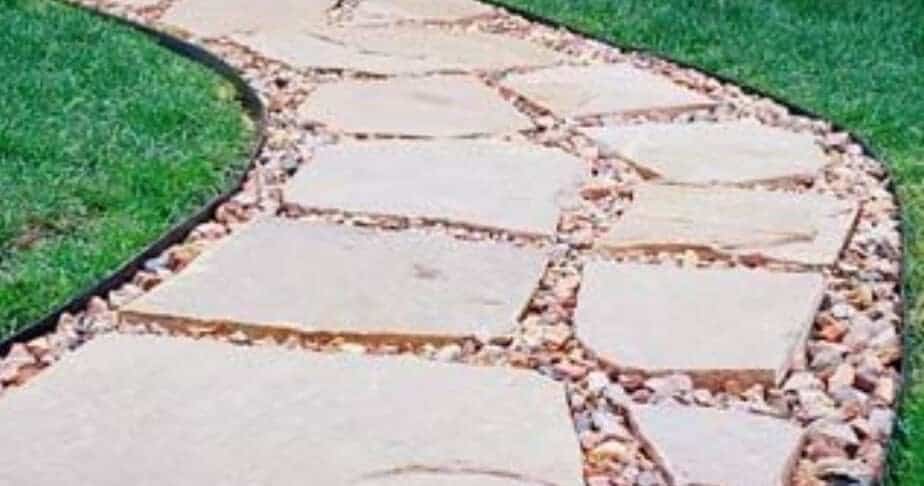
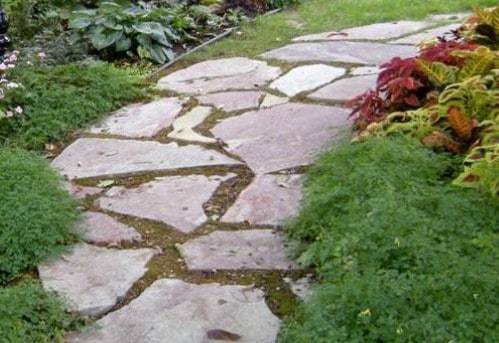
This is my favorite material to use for a garden path. Not only is it easy to work with, it also looks amazing when it’s finished. This is as natural as it gets. The flagstone walk can either be dug into the ground to keep the lawn surrounding it intact, or filled with pea gravel, sand, or even dirt so moss can grow depending on the climate and the location of your path.
If you plan on using flagstone for a walk or even a patio, check out the article I wrote on how I built my flagstone patio.
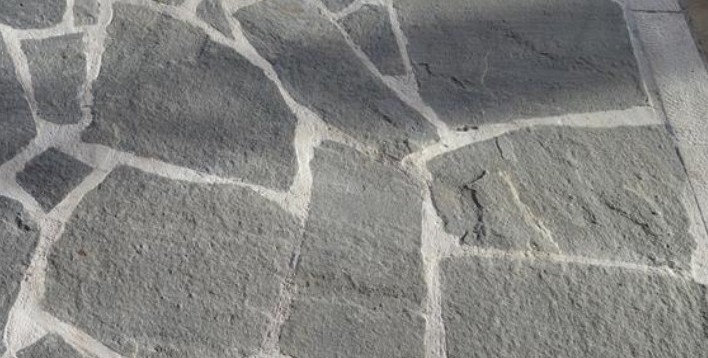 Another option is to lay the flagstone on a bed of mortar for a more formal look. If you choose to lay the flagstone in mortar, there are some extra steps you will need to take to make sure it holds up over time, and keep it looking its best.
1. Dig down 6” from your desired finished path height
2. Lay down landscape fabric
3. Fill the path with driveway stone
4. Compact the stone either with a hand tamper, or a powered one to reduce settling.
5. Mix up mortar and dump it over the gravel, be sure the mortar is mixed fairly stiff
6. Lay your flagstone on the wet mortar, using a level and a string line to keep everything moving in the right direction
7. Once the flagstone cures, mix up more mortar and fill in all the cracks between the flagstone. This gives the walk a very solid feel.
 Edging
Keep in mind that the edging you use for your path is just as important as the path itself. Edging is important if the path you create has material that can mix with surrounding materials. Just for the sake of easy mowing edging treatments are important.
If you are using a free-form path such as the flagstone with grass between, or the concrete stepping stones, then an edge treatment isn’t necessary. However, if you are making a flagstone path with pea gravel between, or the mulch path, then an edge is essential. It will keep everything in its place and make your path last longer before you may need to spruce it up. Let’s be honest, that’s what we all want right, high value and low maintenance!
Final Thoughts
Stepping into the garden should be an inviting summoning. The path to your garden as well as through it doesn’t have to be expensive. As you can see cheap garden paths can be made from a variety of different materials. The important thing is your garden should call out to be enjoyed. By creating a garden path, you will be giving visitors, and yourself a way to navigate the beautiful landscape while keeping everything in its place. If you’re like me, the garden may have started out small, but little by little it has grown and taken on a life of its own. If you have any suggestions, or would like to share some of your ideas, please leave a comment below and I will get back to you as soon as possible.



Flagstone is also my favorite when it comes to a garden path. I have been looking into improving my backyard and my garden and I’m considering flag stone for a garden path.
Great read!
Flagstone is a great choice. Not only does it hold up well, it also looks incredibly natural and blends in to the garden environment.
It got me when you said that timber would be used to line up mulching wherever you might put them on. I wonder if treated landscape timber can be used for those kinds of processes. It will be a good idea to have that kind of installation for the backyard to achieve the garden we wanted where in flowers and vegetables can grow.
I have used treated timbers to line mulched paths in the past. They work great for about 6 years or so, then they begin to break down and rot away. As long as you replace them when they begin to “wear out” your garden will always look fresh.
Cheers!
I love how you highlight the fact that a garden path doesn't have to be expensive to be beautiful. My sister wants to start a garden in her backyard and she wants to decorate the space with pathways. We'll have to look into finding a concrete contractor she can work with to pave some small pathways around the yard.
Some of the most beautiful paths I’ve seen are made from inexpensive materials. Use your imagination and you may surprise yourself as to what you come up with. Good luck!
Cheers