Fixing a brick walk doesn’t have to be an overwhelming task. Simply follow the steps below and things will be like new in no time.
- Remove the affected bricks from the walk along with 3 courses on either side of the problem area.
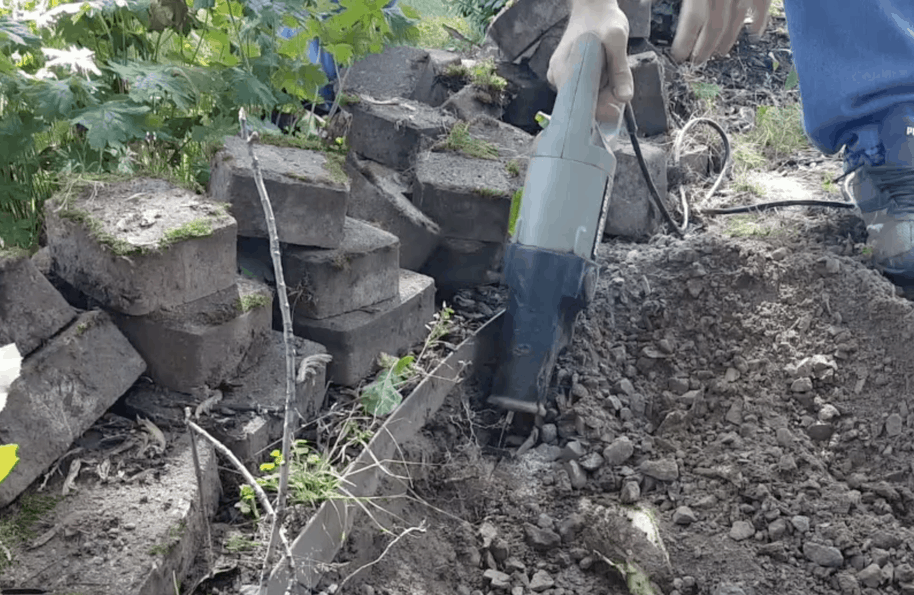
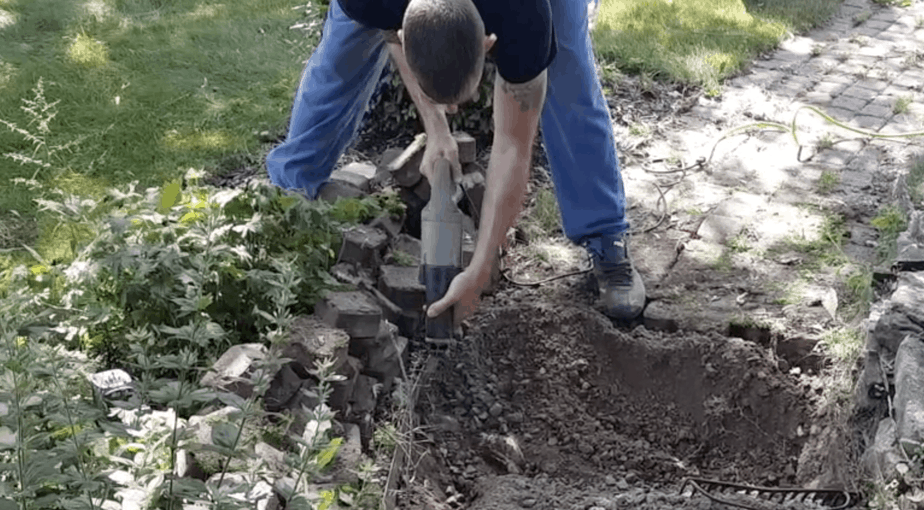
- If roots are the issue, use a reciprocating saw to cut out the roots causing the problem.
- Fill in the void the roots left behind and then using a hand tamper, compact the ground.
- Pour paver sand over the compacted ground so that it is at least as high as the existing walk on both sides.
- Cut a notch on either end of a 2×6 or 2×8 as thick as a brick about 6 inches in. Do this on both sides. See the image below.
- With a back and forth motion move the board across the path removing excess sand. This will create a flat surface to re-lay the brick.
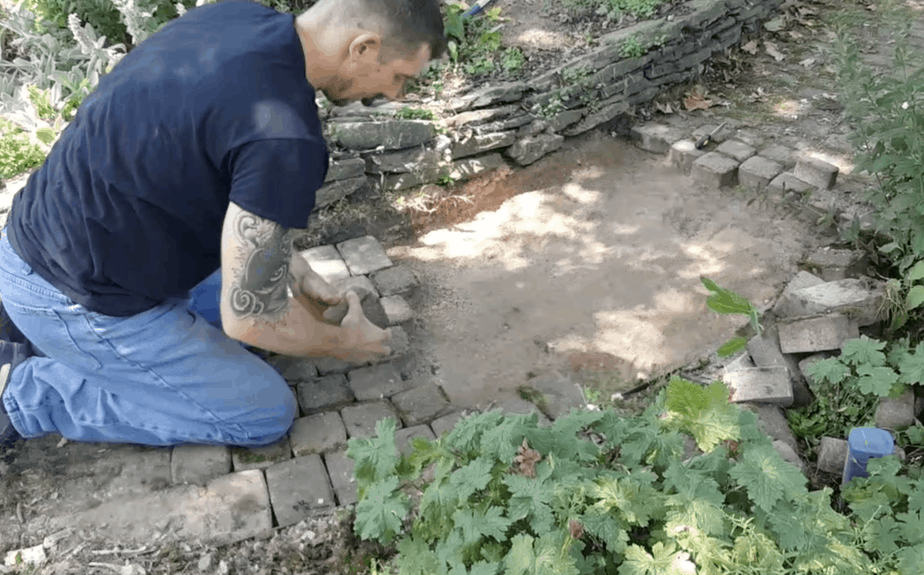
- Carefully lay the bricks down in place following their pattern.
Tools Needed
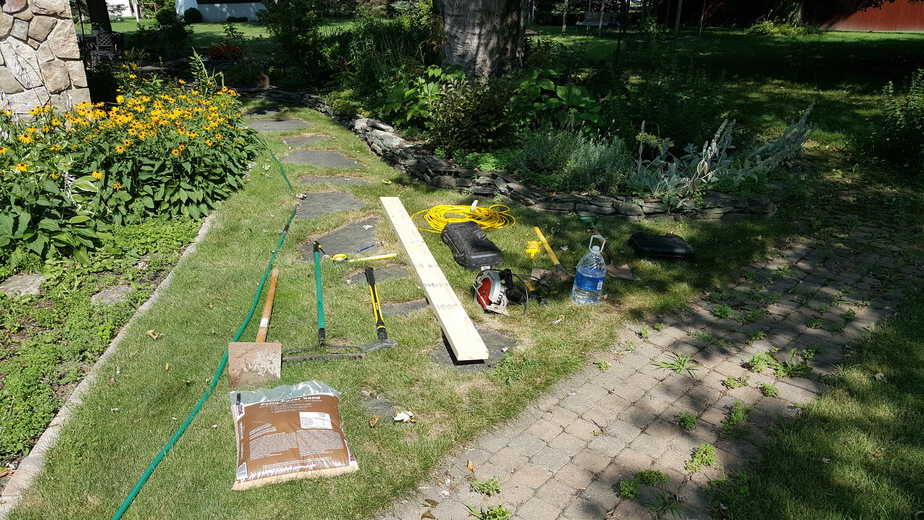
- 2×6
- Hand tamper
- Paver sand
- Reciprocating saw and saw blades
- Broom
- Screwdriver
- Circular saw
- Pencil
- Tape measure
Optional Tools
- Stringline
- Pipe or angle iron
Everything is temporary, no truer words have been spoken. Especially when you are talking about projects that are exposed to mother nature. Even your brick patio or walkway, that seems so permanent will settle. Tree roots will grow and before you know it, your once flat winding walk will be a giant tripping hazard.
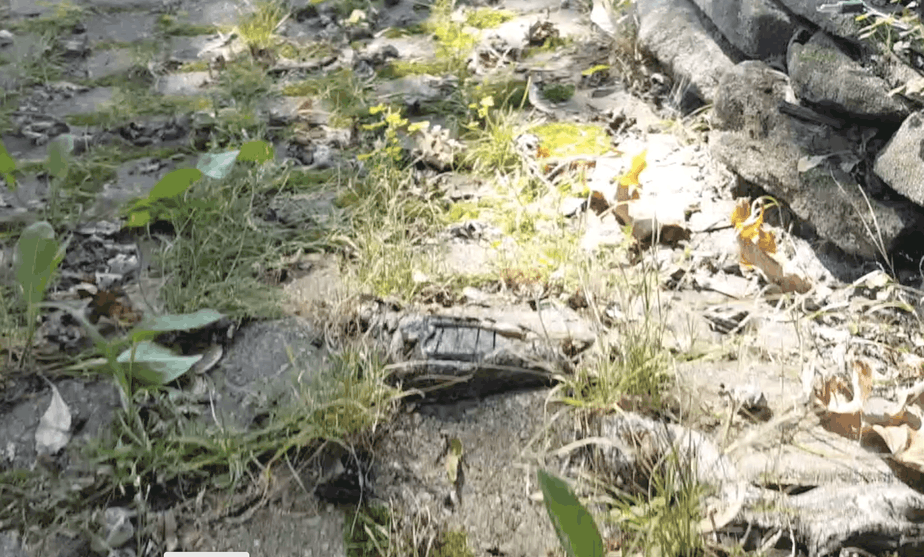
Lucky for you, things like this are simple to fix. Follow along and we will go over what you need to do step by step.
Check Out The Video
One Step At A Time
Step 1 – Remove all the bricks or stone from the affected area and a few courses beyond. I usually go about 3 courses further than the problem area. If your problem area is exceptionally large thats ok, we will go over how to fix it. Don’t worry, things always look worse before they get better.
Step 2 – Identify the problem. This could be a number of things. In our case the culprit is tree roots. This is a pretty straight forward issue. Using a reciprocating saw (best tool in my arsenal, here is a link to Amazon) made our solution easier. The disposable blades (affiliate link to Amazon) will rip through anything!
If your problem is a settling issue this could mean a number of things.
Does water collect on your path? If this is the case, this issue will deed to addressed as well as the walk repair. Remember water always seeks the lowest easiest path. By simply raising something up you can eliminate standing water issues.
Does water flow through your path? In this case you may need to add some type of drain tile beneath your path to give the water an alternate route rather than washing your stone away.
Once you know the “root” of your problem it can be addressed and your walk can be repaired. Let’s move on.
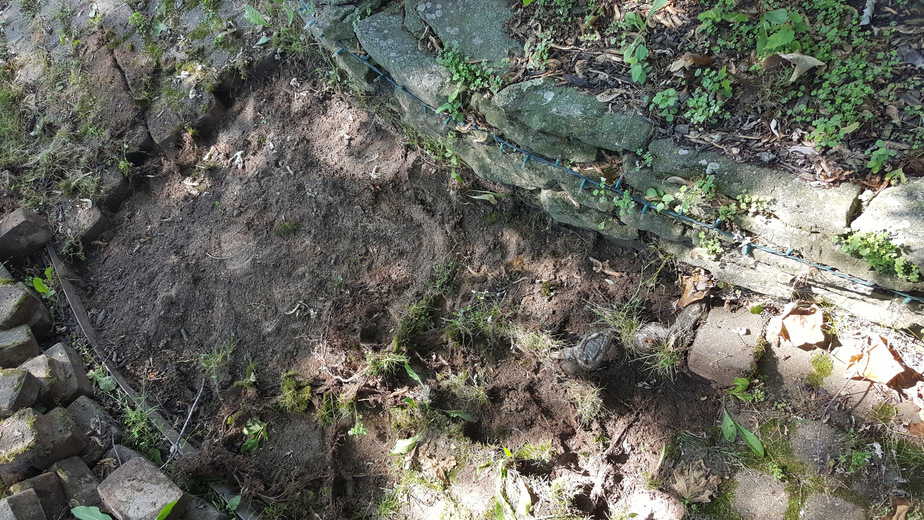
Step 3 – Depending on the issue, you may need to add more stone base, dirt, or sand to the area. If adding more sand and dirt is necessary, be sure to use a hand tamper to compact the stone to reduce the amount of settling that may occur. Do not skip over this step or you will be making another repair in the near future.
Step 4 – Once your foundation is solid, pour out paver sand over the solid stone base. Be sure to pour enough sand that the top of it is just over the bottom of the existing bricks (see picture). This way when you go to level the sand there are no voids.
Step 5 – Now using a 2×6 cut a 6 inch long notch on both ends as thick as one of the walkway bricks. Leave the space between the notches about 4 inches shorter than the area you are repairing.
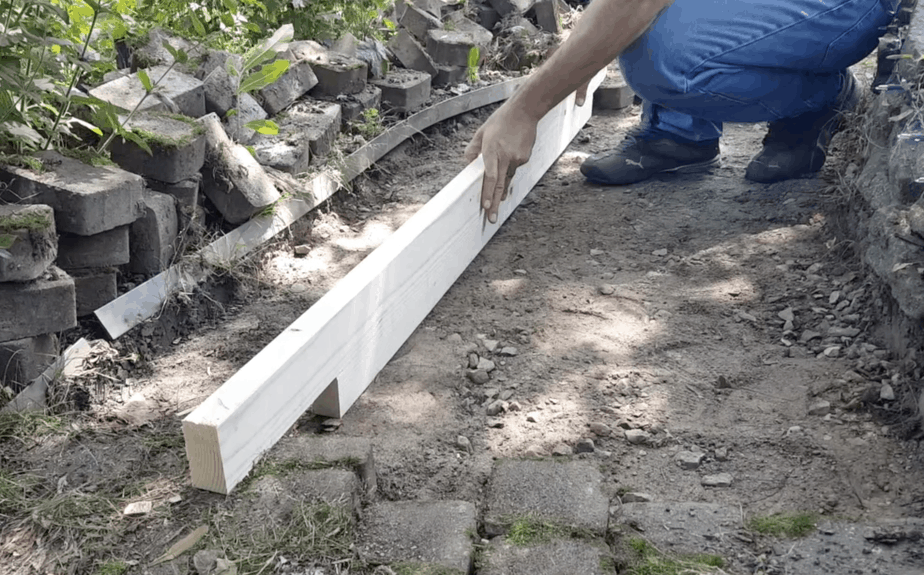
Step 6 – Now, using the modified 2×6 move the board back and forth over the existing walk creating a flat surface to re-lay the bricks you removed for the repair. Using this method the pitch and angle of the existing walk will be matched perfectly.
Step 7 – Starting at one end begin to lay the brick, following the pattern. You may find that by the time you get to the other end of the repair there is larger spaces. If this is the case, adjust the bricks over the repaired area to split the difference. This will make it less noticeable. Once all the bricks are back where they belong use more paving sand and sweep it into the cracks to lock everything back into place.
Repairing A Larger Area
If the area in question is larger than a walk, you will need a slightly different strategy than only the notched board. In this case you will need a string line and a either a pipe, or piece of angle iron. Something rigid and straight.
Follow steps 1 – 4 just as described above. When its time to add paver sand to create a surface to re-lay the bricks on, place a string line on one side of the walk that doesn’t need repair and weigh it down with a brick. Now run it to the other side and make it tight weighing it down with another brick.
Measure from the sting down the thickness of a brick and set the top of your pipe at that height. Do the same for the other side of the area. The pipe acts as a “bridge” to keep everything Pitched correctly.
If your area is larger than two board lengths, simply follow the above instructions and use more pieces of pipe to get from one side to the other. Use your tight string line as a guide and you can’t go wrong.
Other Variations
If you plan on putting in a brick patio or brick walk, following the above instructions may help you. There is just a little more excavation involved in the initial build. Check out my “how to build a flagstone patio” post and video. If you follow the steps for the foundation then create your flat sand surface like above, simply lay your bricks down and voila! Instant brick patio or walk!
Conclusion
Nothing lasts forever, even that solid brick walk or patio. Knowing how to fix it and keep it looking its best is what really matters. It’s not that difficult if you simply follow the steps above. Questions and comments are always welcome. Please leave them below.
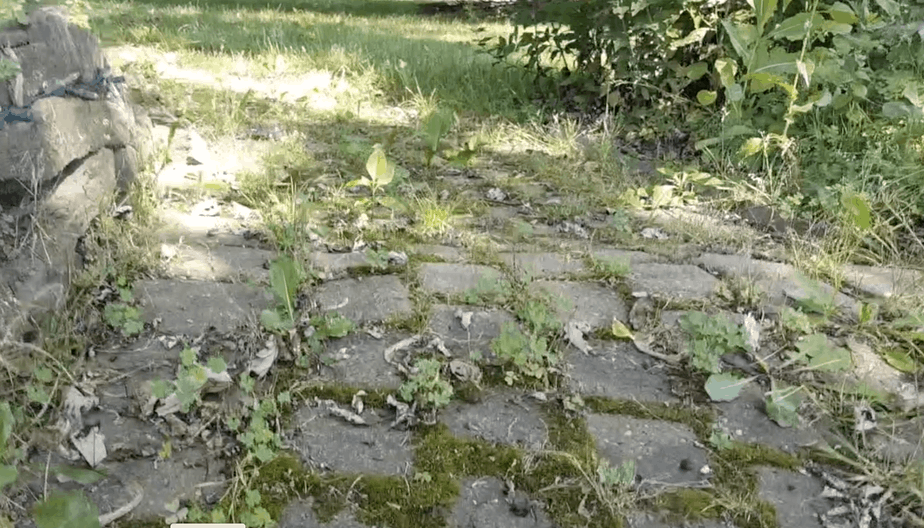
BEFORE 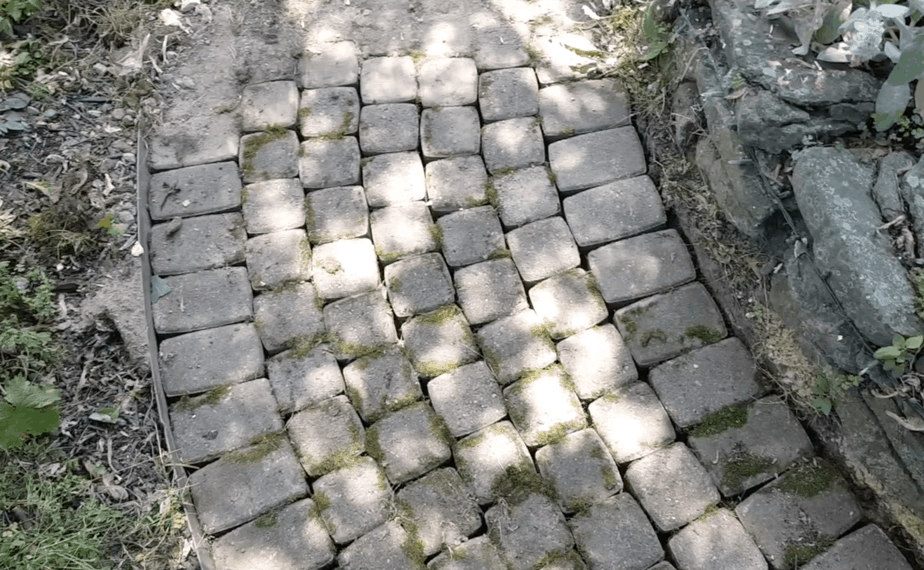
AFTER 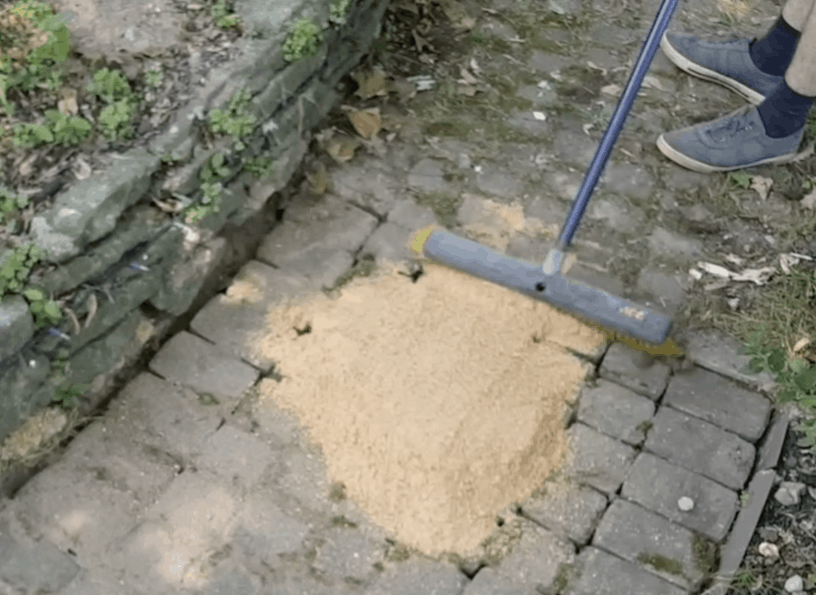
FINISH WITH SAND
If there are any projects you would like to see us do in the future, comment below. Until next time, enjoy your backyard water garden
~Jeff


