
You can see it in your mind, the perfect backyard waterfall. Cascading water accompanied by the tranquil relaxing sound of running water. Sound too good to be true? Let’s start bringing that vision into reality.
Get exactly what you want out of your backyard waterfall. To do that, start with its design.
We touch on this a bit in our how to build a pond post, or if you would like you can download our free guide. In this article we are going to cover everything you need to know to bring your backyard waterfall to life.

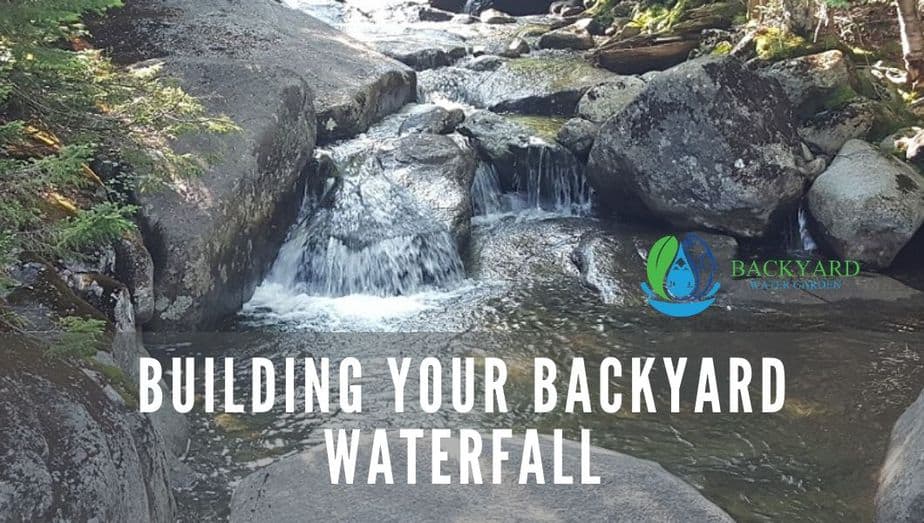
The first rule, and by far the best is to copy mother nature. Unless you are designing a modern water feature using tiles or something man made. I suggest taking a walk in the woods and observe how natural streams and cascading waterfalls are “put together”.
You will see they all share similar characteristics. The water that flows through them is guided by larger rocks and boulders that create the border of the waters pathway.
Decide how many spillovers you want and try to picture what the water will look like as it flows through the path you are about to create.

By simply adding a boulder in the middle of a waterfall you can make it split in two and reconnect in a poo below. Really the sky's the limit and you are only bound by your imagination (and budget).
Sometimes doing a rough sketch will help you visualize exactly what you want. Now that you know it's just a matter of bringing it to life.
For the sake of this article we are only going to focus on the building of the waterfall itself. For more detailed information on how to get to this point, refer to our build a pond post or build a pondless waterfall post for more detailed instructions.

When you begin constructing your waterfall, use the biggest boulders to frame in your water feature. I suggest using the largest rocks you can manage, either with machinery or a few eager friends. Just be sure to watch your fingers. Rocks have no mercy and will crush your hand if you are not paying attention.

Don’t be afraid to place a large boulder in the center of your waterfall. This not only adds interest, but will also divide the flowing water into two separate waterfalls. One could be a gentle cascade, while the other side is a sheer drop off.
Experiment with the materials you have. Don’t limit yourself to a design “set in stone”. Have some fun and play around a bit.
Once you have framed in your waterfall and are satisfied with how it looks, then it’s time to move on to the next step.
I don’t know if you've ever played with legos as a kid, but constructing a waterfall is a lot like that. The beautiful thing is using rocks, you never run out of pieces. There are infinite combinations to create an infinite number of rock formations.
Just like legos, when you find the perfect rock for that perfect space the pieces do actually “click” together.
Begin at the bottom and work your way up. Before you move up to the next course, be sure what you have done is solid and secure.
There are a few ways to go about getting the look you want. The best way is to stack the stones in such a way that they actually lock together. This is easier said than done and does require some trial and error. But this by far creates the best looking and most stable waterfall stone structure.

An alternative to this is to use the aid of waterfall foam. This helps keep things in place. Don’t rely on this too much. If you do, your waterfall will be like a house of cards. It looks great for a while until settling and weather has its way with it.

Waterfall foam also expands as it cures. Keep this in mind as you use it, and use it sparingly for your construction.
A third method is to use mortar to “paste” the rocks together. This is another great way to start, however if you live in a climate with severe temperature swings, the rocks will break free from the mortar over time. It will require constant maintenance every few years.

This is why taking your time and finding the perfect fit is so important. It is the only true way to build a backyard waterfall that will last for years.
Don’t just stack the rock haphazardly. Make sure to split the vertical seams and never let them go beyond two courses of rock at a time. Doing this creates a strong stable stone structure for your water to cascade down.
Once you've reached a point where you want the water to “fan out” and cascade down, you will need to place a spillover rock. The spillover rock guides the water over the edge creating a beautiful sight and sound.
To create a proper spillway, your rock must be flat, flagstone works well for creating such features. Next, it has to rest between some larger rocks and at the same time be supported from underneath.

Easier said than done, but the spillway must also be level across the face if you want the water to go over it evenly.

Pitching your waterfall spillover rock forward slightly will “coax” the water over it in a gentle manner.

Here we are talking about HOW the water will travel down and through your water feature. Once your spillways are set and most of your stones are in place, it's a good idea to test this whole thing before going any further.
The biggest problem with building a waterfall is making the water flow over it rather than under it. That's where waterfall foam really comes in handy. Many times water will flow up to the spillover, and then politely run behind and underneath it.


You can fix this. Use a garden hose or utility pump to get an idea of how the water will flow through your water feature. This is the fun part, you get a sneak peek as to how it will look once you are done.
Take note of anywhere the water goes that you don’t want it to. Behind a spillover rock, or around a spot rather than through it.
Shut off your water and allow it to dry for an hour or so. Now use your waterfall foam to fill any gaps behind the spillover rock. The waterfall foam (link to Amazon) can be hidden with gravel and pebbles. Allow the foam to cure, then try again. You may find the problem has moved to a different location. Just keep repeating this step until it is exactly what you want.
This may not seem like a big deal. Especially if you are excited to get started with your project. This sound of rushing water has a huge impact on the dynamics of your outdoor space. A robust waterfall will create isolated conversation spots.
If your patio (link to how to build a flagstone patio) or deck is next to your waterfall, don’t count on communicating with people on the other side of it without yelling. You would be surprised how the white noise of the water drowns out every other noise.
Sound also attracts other animals to your backyard. Frogs and the like are attracted to the sound of running water. Turtles will also be moved to the sound.
The amount of songbirds I have witnessed since my waterfall was first installed is astounding. They love to come and bathe in the fast moving waters of my small stream before the waterfall.
There are solutions to control your waterfall just the way you want it, when you want it. Changing how much water flows over your waterfall not only has a dramatic effect on the way it looks, but also its sound.
Install a valve into your waterfall pump return line. This simple addition gives you ultimate control over the sound and look of your waterfall.

Waterfall Control Valve

Hidden Behind the Scene
This should not be overlooked when you are constructing your water feature. The valve can easily be concealed by plants and other natural landscaping.
If you are going to have a pond along with your waterfall then a UV light is a must. When you install it, you will naturally put valves in place to control the flow rate through it. The valves act just like “dimmer switches” but for your waterfall.
Use a variable speed pump for your waterfall. The AquaSurge PRO 2000-4000 GPH Asynchronous Pond Pump and the AquaSurge PRO 4000-8000 GPH Water Pump are both variable speed waterfall pumps. Water flow can be increased or decreased by way of remote control. The number on the pump indicates its gallon per hour range.

Waterfall with full flow

Waterfall at half flow rate
Imagine changing the look and sound of your waterfall with the press of a button… ahh technology, gotta love it!
While you are trying to create the perfect backyard waterfall, understand that nature has another plan in mind. From the moment your water garden is created, mother nature is trying to take it down. Settling will occur, and plants and weeds will begin to invade.
Don’t take offense to this, embrace it. If you have done your part, your backyard waterfall will become one with the surrounding landscape.
The beautiful plants you have planted on the edges will grow and begin to invade where they are not wanted. This is the natural order of things.
So there it is! Building the ultimate backyard waterfall and having complete control over it. Now is the time to sit back and enjoy the fruits of your labor. Set the mood and savor the season. Until next time… enjoy your backyard water garden.
~Jeff

Thanks Jeff,you are very helpful with your detailed guide. With guidance from your website I feel confident in our success.
Good luck with your project!
Great tips.
I plan on using these to rebuild my pond that just does not have the sound my wife wants.
I wish you luck with your project!
Cheers,
~Jeff