
I’m warning you, be careful, if your wife is anything like mine, she knows how to plant a seed in my mind. Once planted I have no choice but to carry out her plans. That’s how this whole flagstone patio installation got started in the first place. She is crafty that way… and that’s why I love her. All she did was merely mention adding a flagstone patio near our backyard pond and BAM… I was obsessed!
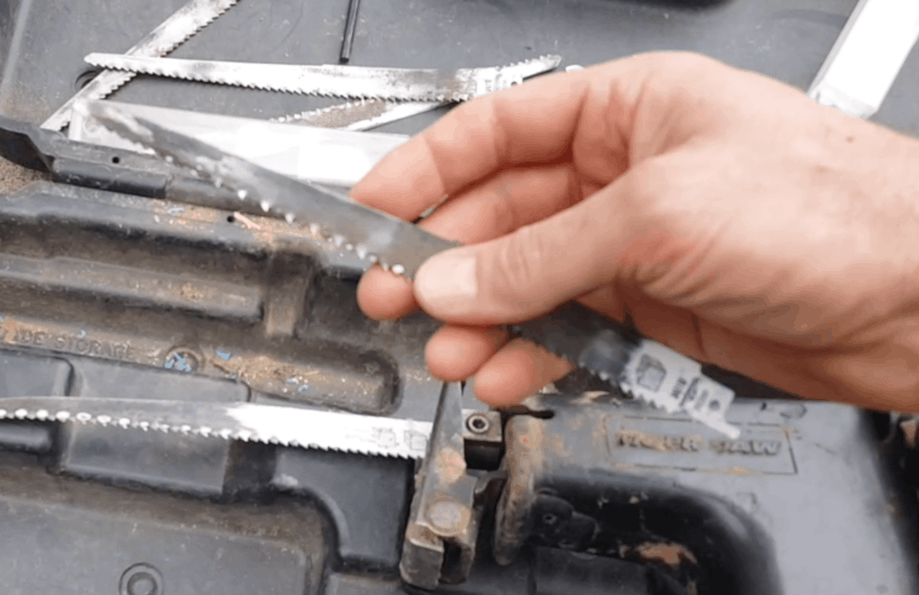
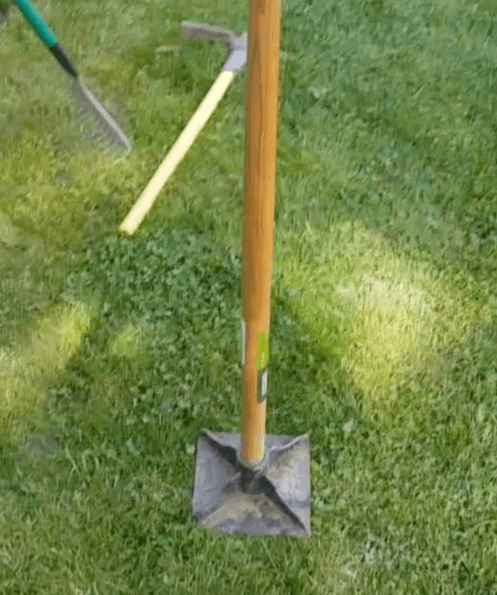
Most of the tools needed, you most likely already have, like a shovel and rake. The reciprocating saw and disposable blades (affiliate links to Amazon) are a must have if you encounter roots of any kind. As you can see mine is an older model, but it has served me well.

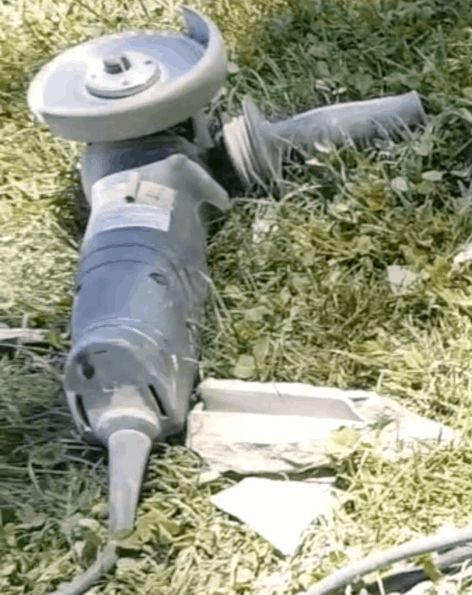
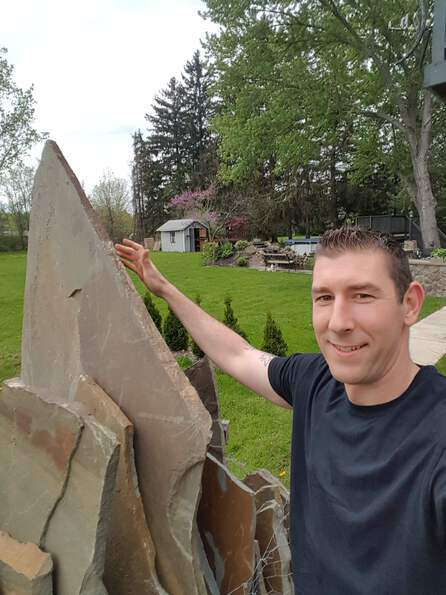
Another thing you will need to do this project right is an angle grinder and diamond blade (affiliate links to Amazon.com). Depending on the size of your project you can get a 3 pack of diamond blades like the ones I used in the video, or a single diamond blade.

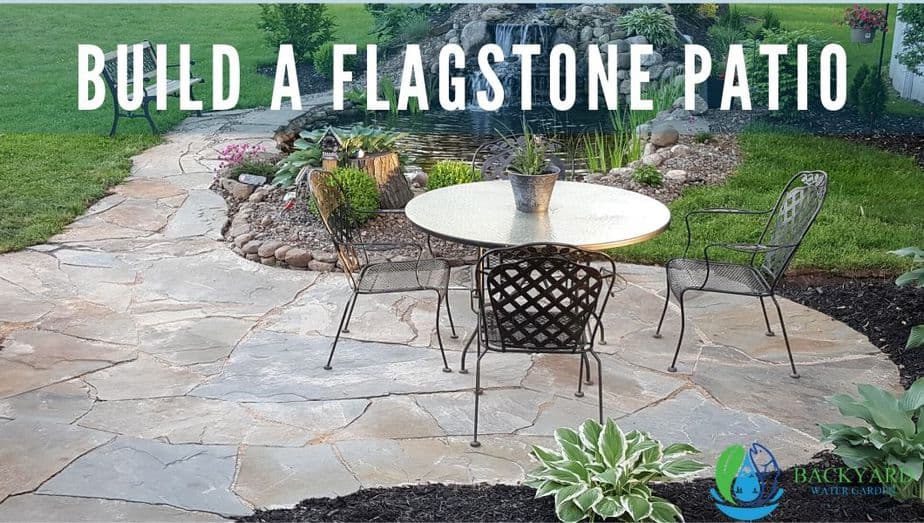
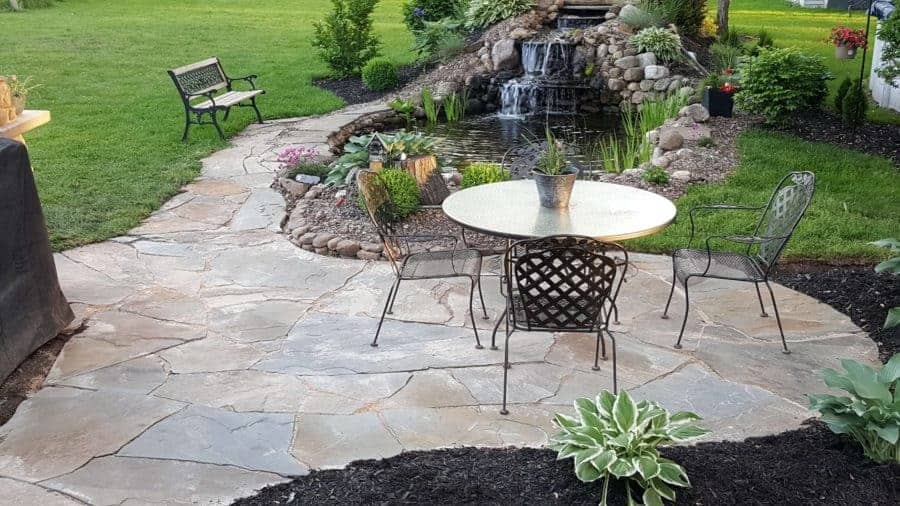
We needed more of a gathering place close to the pond, that would allow us all to hang out together. Here is a breakdown of the steps to get this done from start to finish.
Just like all the projects featured on this site, planning is a big part of your success. Whether it’s a pond, waterfall, grill island, concrete countertop, or simply a stone wall, you must have a vision of what you want before you set out to create it.
Figuring out what works best in your outdoor space is the first step. You need to picture what would fit best in your space. Brick has a rustic look to it, but a bit too formal for our application. This was why we chose a flagstone patio for our project. The natural look of the stone plays off well with the surroundings
This material is semi easy to work with, and it matches our natural looking pond. The field stone compliments the look of the slate and the whole thing comes together, creating an inviting natural patio and walk.
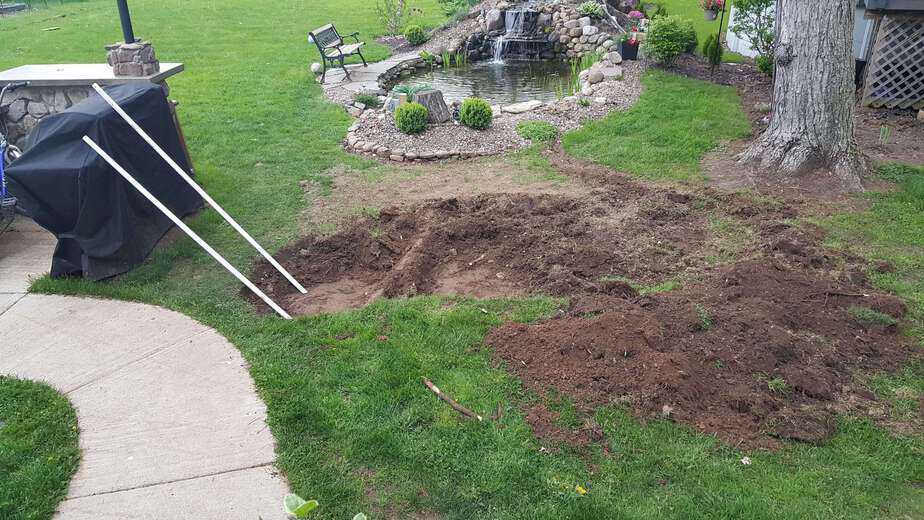
My original thought was to scrape off the grass and merely place the flagstone in the dirt, leveling and fitting them in as I went. I marked out where I wanted it to go with a can of spray paint, and then chopped an outline in the grass.
Using a roto tiller to pull up the grass over the area. As I did this I ran into lots of roots. If you ever do a project like this… be sure to do it under the largest tree on your property (can you feel the sarcasm here!).
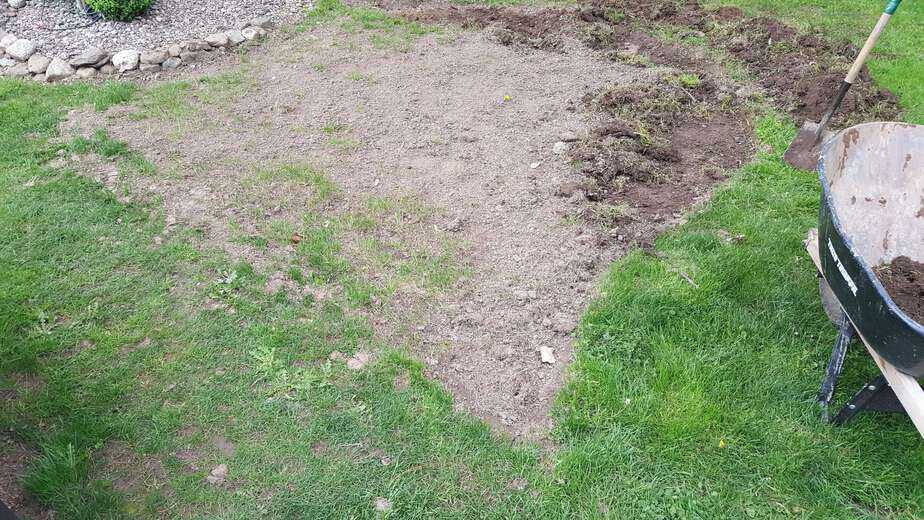
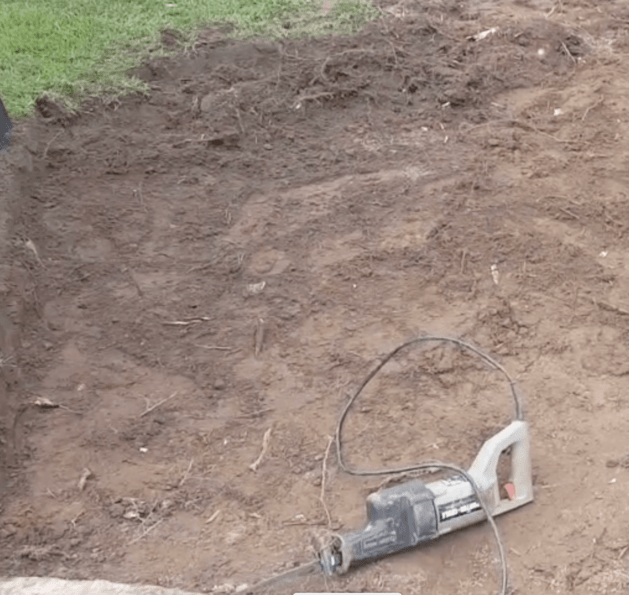
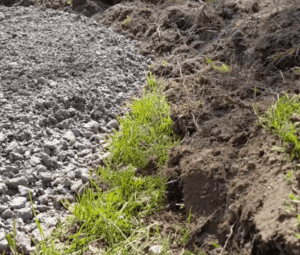
Once I was done complaining I realized there was no easy way to do this, and it had to be done right. I ordered 5 tons of driveway stone and began to remove the dirt and cut out the roots about 5 inches below where I wanted my finished patio.
The easiest way I have found to remove large roots is with a reciprocating saw. The blades for these are relatively inexpensive, you can get a 10 pack on Amazon. This will allow you to cut through roots in no time.
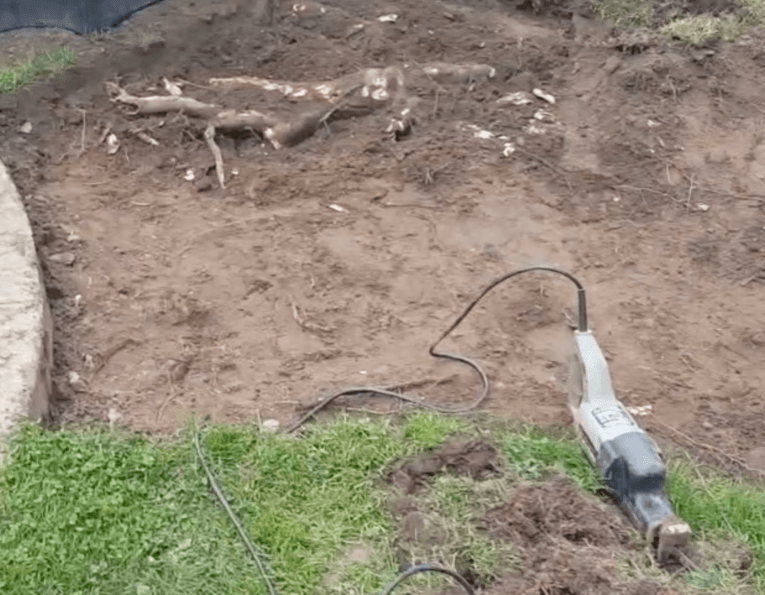


Do not use a chainsaw. As soon as the chain makes contact with the dirt it will dull out.
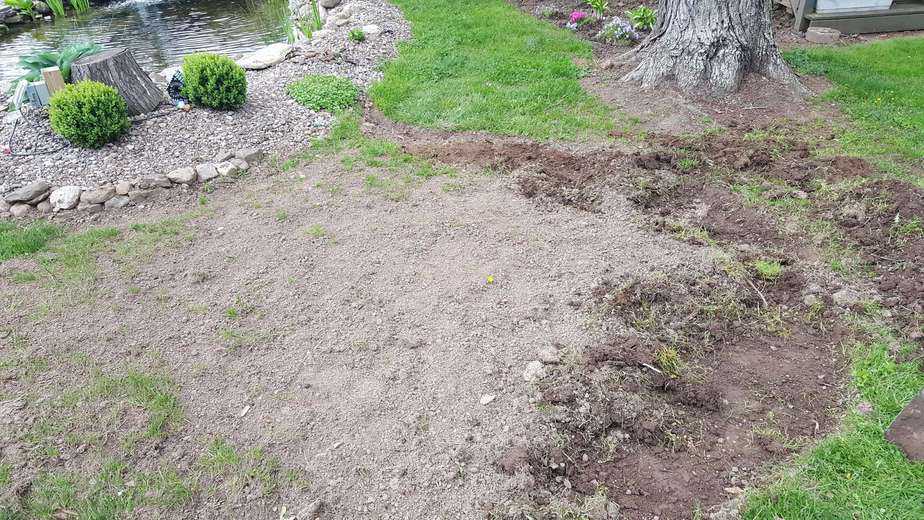
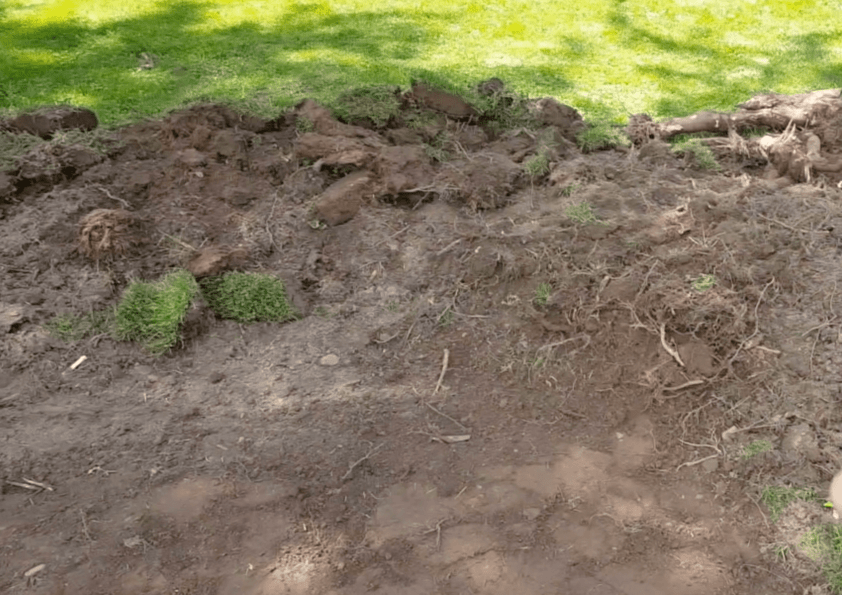
I used the dirt that I removed around the edge of the new patio. The ground was pitched about 6 inches on one side, and needed to come up if I wanted the flagstone patio to sit somewhat level.
After I had removed enough dirt i used a hand tamper to compact the ground. Doing this helps reduce the amount of settling once everything is done.
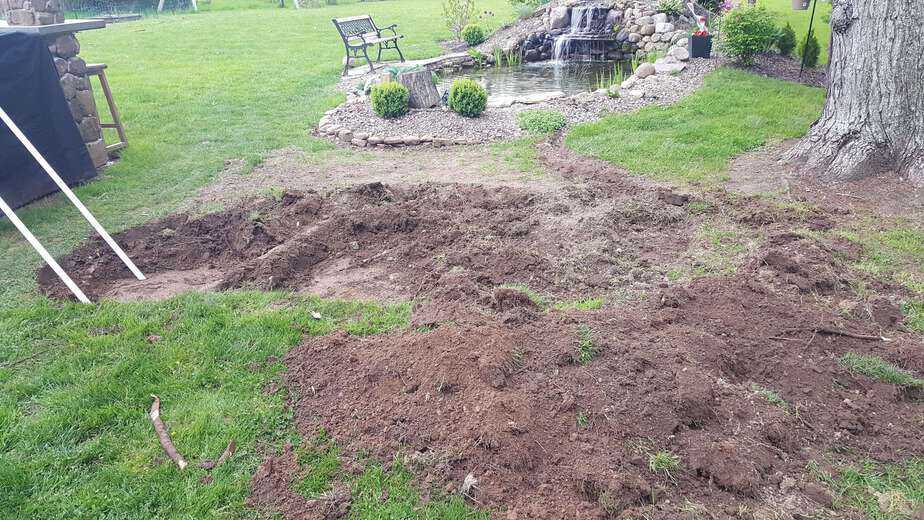
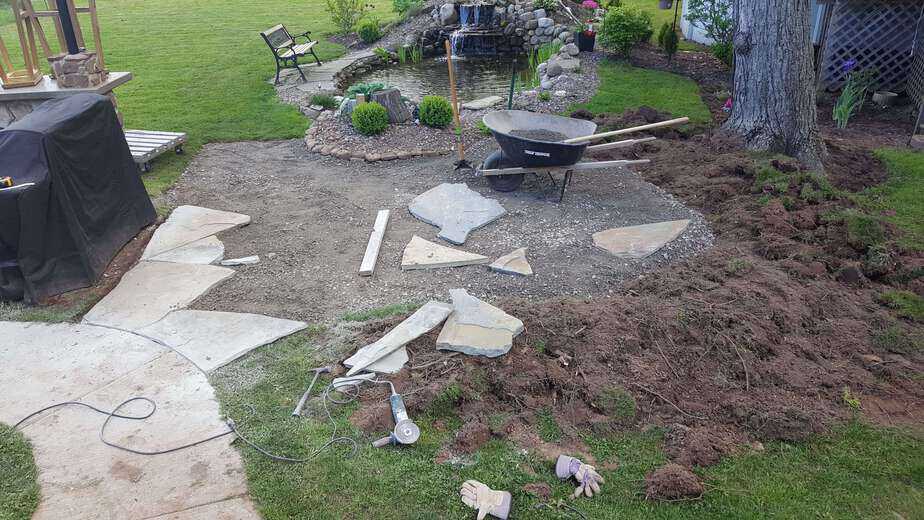
Once the dirt was dug out and packed down, begin filling it up with driveway stone. When you do this, rake the stone until it is the level and pitch you want your flagstone to be.
If your driveway stone is higher than the surrounding elevation, dirt will need to be added around the edge to keep the driveway stone in place. If not when you go to compact it, the driveway stone will just fall away on the edges. Use either a power tamper, or hand tamper to compact the driveway stone.
This is where things are different between laying a brick patio and using flagstone. Flagstone varies in thickness from piece to piece, so your base doesn’t have to be perfect. Brick on the other hand demands a consistent surface to be laid on.
Each piece of flagstone needs to be placed and leveled individually. Since the flagstone is not always uniform the way it sits, it needs to be completely supported underneath to avoid cracking. Using a layer of paving sand on top of the stone base you just compacted down accomplishes this. Now the flagstone has even support and this will also stop it from rocking when stepped on.

Large pieces of flagstone can be difficult to manipulate without a helping hand. There are two benefits to using larger pieces of flagstone:
Using a pallet with wheels attached to the bottom was extremely helpful to move the large stone from the drop off point to the worksite. Keep this in mind when you have your stone delivered and place it as close as you can.
My technique was to begin in the middle with a few very large pieces of flagstone and then build out from there. It’s like having a giant puzzle. Finding the perfect piece for that perfect spot is what will set the whole thing off and make it look amazing.
If the pieces don’t fit… make them. Lay one stone on the other and trace the rustic edge. Using an angle grinder with a diamond wheel, score the line you just scribed. Flip the stone over and try to match what you did on the first side.
Scoring the stone on both sides will create a breaking point. Gently tap the piece you want to remove with a hammer and it should fall away. This technique may take a little practice but after a stone or two, you will get the hang of it.


This is the easiest way to make nice tight spaces between the stones. By using one stone to trace the other you maintain the natural looking shape rather than cutting straight lines to make them fit.
Place your first stone and pitch it the way you like, making sure it’s supported completely with sand. Find your next piece and off you go. Try not to have too many seams in a row. It just looks better to have a seam broken up after a rock or two.
If and when you place the last piece in place, take a breath and give yourself a pat on the back for a job well done.
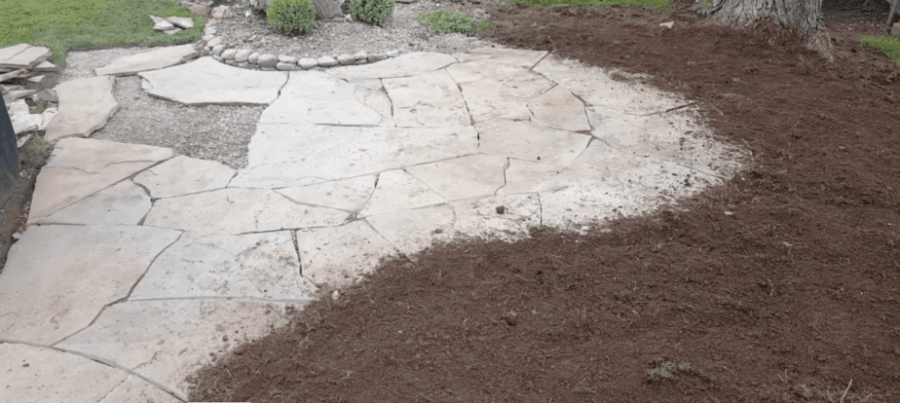
After a short rest it’s time to fill the cracks with more sand. Use polymer sand if your seams are 2 inches or less. The polymer sand resists washing out and minimizes weeds. Once it gets wet the polymer sand will lock the whole thing together.
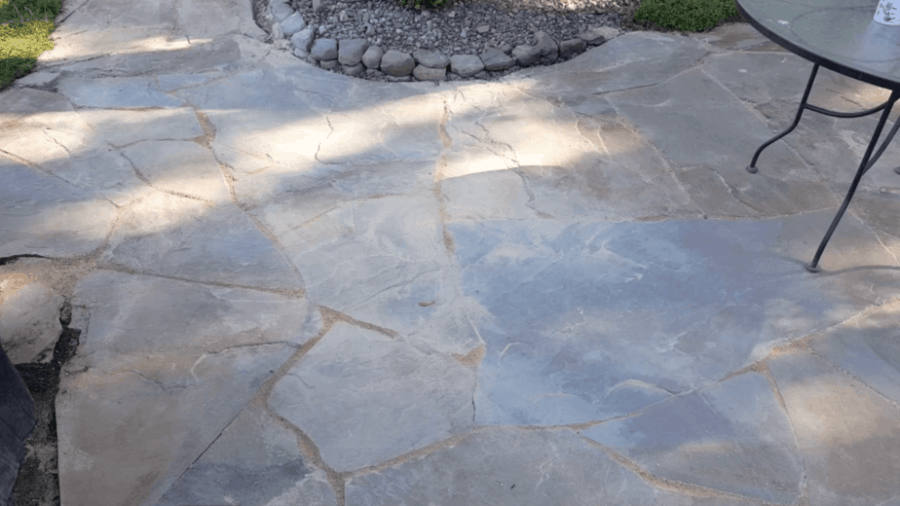
Dump out a bag or two depending on the size of your project and sweep it around with a push broom until all the cracks are filled. Now wet the whole thing down. Try not to blast the cracks and wash the sand out.
Now that you put your “puzzle” together it’s time to finish the edges and bring the whole thing together. I used the dirt from where the patio was going and created a berm.
Just adding a few plants really help to set the whole thing off. Now mulch and voila! Instant outdoor entertaining space.
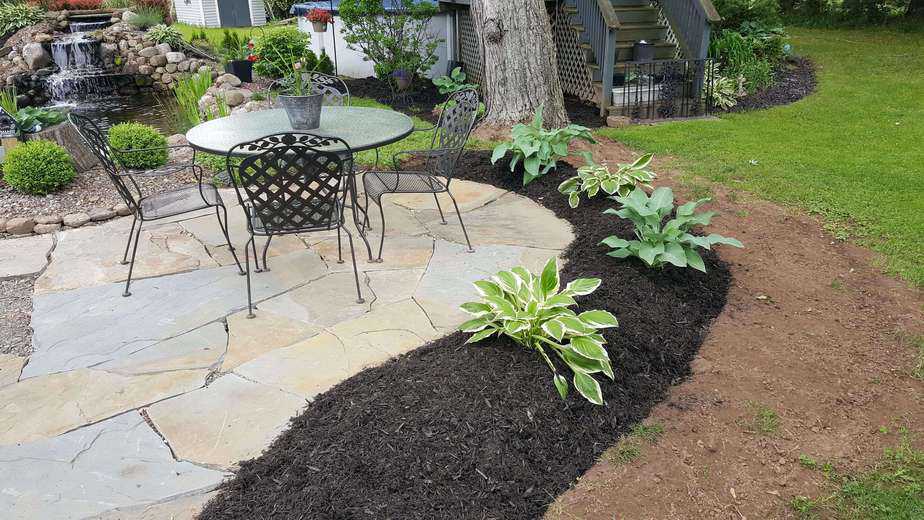
That’s all there is to it. Don’t put it off until next season. Start now and before you know it you will be enjoying your new patio.
Put all the pieces together one at a time. This flagstone patio installation may look overwhelming but if you go step by step you too can accomplish this. I Hope you found this useful, and would love to hear about projects you have created to bring your outdoor space to life. Please comment below. Until next time… enjoy your backyard water garden.
~Jeff
